Fashion
How To Get Beach Waves When You're Beachside

This summer, you've probably seen (and possibly drooled over) countless photos of dreamy beach waves on Instagram. Not only do these salt-spray tresses turn your seaweed green with envy, but they also make anyone want to throw out their scorching hair dryers. Yes, those Instagram glamazons have the sun-kissed, windswept mane down pat. But I’ve always wondered if getting beach waves IRL is a doable task — one that doesn't involve handy extensions, a generous helping of sea salt spray, and the perfect photo filter.
Always the curious beauty enthusiast, I decided to see if I could master the “I’m a real-life mermaid” look without the aid of hair mists created from unpronounceable ingredients. As it turns out, using actual salt water seems to be a more natural (and equally effective) alternative to the harsh alcohols and ingredients found inside most store-bought sprays.
With a trip to the beach in my future, I decided to ditch my usual volumizing mist and rely solely on salt water (plus a little mousse) to achieve this coveted summer style. The results, as you'll soon see, were amazing. If you should find yourself by the ocean, combine these tricks with Mother Nature for flawless, beautiful beach waves.
1. Condition Your Hair

I'm usually more of a sand lounger than a wave rider, but if you want beachy waves, you have to get wet. As a bleach blonde, I'm always concerned about further damaging my strands, so I was sure to take preventive measures to ensure the best protection possible.
My colorist recommends wetting your hair and applying conditioner before heading into any kind of water, which makes perfect sense, since conditioner works as a protective barrier, prohibiting any harsh agents from penetrating your hair. Even if you haven’t colored your hair, conditioning your hair before diving in can help prevent the tangles and knots that often form after swimming in salt water.
Putting this tip into motion, I wet my hair first, and then slathered on a generous portion of the Pureology Perfect 4 Platinum Conditioner. Once my hair was completely coated, I then combed it off my face and fashioned it into a tight bun.
Pureology Perfect 4 Platinum Conditioner, $18, Amazon
2. Pack Your Supplies

DevaCurl Styling Cream, $17, Amazon; Tangle Teezer, $13, Amazon
Once you’ve conditioned your hair, it’s time to head off to the beach. But to ensure the best beach waves possible, bring along some reinforcement tools. You’ll want a brush and some hair elastics, as well as a volumizing mist and an empty water bottle.
3. Get Your Hair Wet

The hardest part of the beach babe look is getting your hair wet. This step is especially difficult if swimming in extremely cold oceans isn’t your forte. That’s why an empty water bottle is a necessity. All you have to do it fill it with ocean water and pour it onto your head, and you get the same effect without the goosebumps. NECESSITY.
4. Let Your Hair Dry

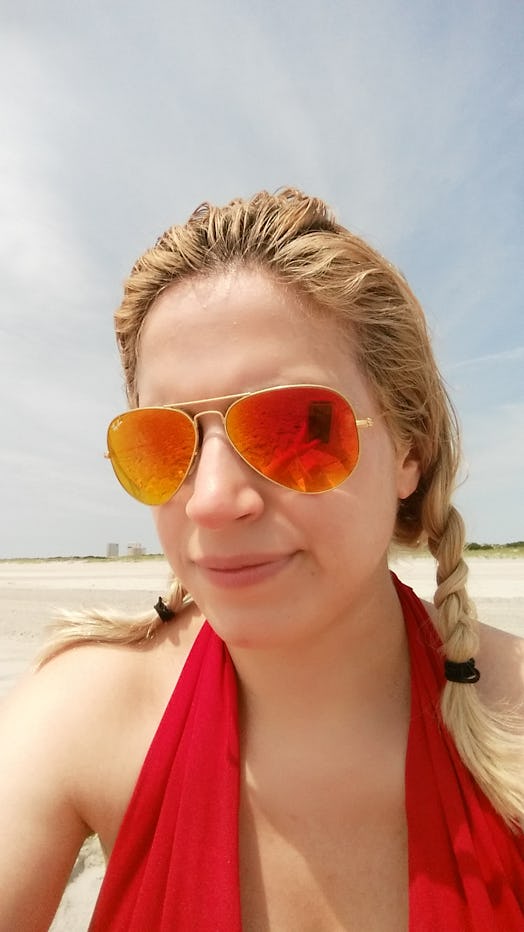
At this point, your hair needs some drying time, so take advantage and enjoy your surroundings. Aside from burying my toes in the sand and devouring my cheesy romance novel of choice, I also utilized my drying time by taking a couple of selfies. Although I didn't have Daryl Hannah's hair at that point, my locks started to take that wavy shape, which had me 50 shades of excited.

5. Apply De-Frizzing Mousse

DevaCurl Frizz-Free Volumizing Foam, $18, Amazon
The warm sun and gentle breeze can help speed up drying time, but in going the natural route, frizz can appear. To keep your hair frizz-free, apply a small amount of alcohol-free volumizing foam, like the DevaCurl Frizz-Free Volumizing Foam, to keep tresses full and protected from the elements. Just be sure use a small pump, as you want the salt water to be able to work its magic.
6. Braid It Up
You can dry off without the help of some braids, but this go-to style keeps hair off your face and enhances the wave shape. Keeping my hair in two braids surely sufficed, but feel free to create tons of mini-braids all over your head for a much more defined wave.
7. Let the Braids Loose

I left my braids in for a few hours, until I returned home. Once it was time to undo my braids and brush out my hair with my fingers, I was treated to soft, frizz-free waves that would even make Ariel jealous.

Since you’re basically washing your hair in conditioner and salt water, your locks may be softer than you’re used to. But if you find your hair to be little bit oily, spritz your hair with some dry shampoo. This will minimize grease, while adding in some more volume.
So, Is The Beach The Best Place To Get Your Waves?

While store-bought sea salt sprays can give you immediate results, they can cost a pretty penny. Opting for natural beach waves will still give you mermaid-worthy hair, even if it takes a little more time. Yes, my volumizing foam and conditioner were added (and somewhat expensive) perks, but they were helpful tools for ensuring protected and frizz-free locks.
Achieving this style can be something of a time commitment, so you’ll want to try this out when you can spend a day relaxing on the beach. But if you love the look of a wavy, windswept mane, then this method is worth trying. Even a day later, my hair still felt buttery smooth, without any frizziness or flyaways to boot.
I would totally try out this method again, especially if I have another beach day coming up before the summer’s end. Not only was my hair as wavy and voluminous as a deep sea siren, but my locks wore more than thankful for the all-natural treatment.
Images: Courtney Leiva (12)
