Fashion
How To Get Wrinkles Out Of Your Chambray

The debate is over: Chambray shirts have officially been declared work-appropriate, especially if dressed up properly. In order to insure that you're allowed to wear the most comfortable pseudo button-up shirt to the office, it's crucial to learn how to iron a chambray shirt.
Less like jeans and more like the dress shirts your dad might wear to work, chambray shirts wrinkle. The difference between denim and chambray has more to do with the weave of the cloth than the materials, which makes the latter more prone to wrinkling. Luckily, however, chambray can withstand the heat of the iron.
G. Clay Whittaker, contributor for Men's Journal, explained that chambray is a lot like linen in that the more we put it through, the softer it gets. Which is the perfect conundrum, IMO. Because of that, when you're not wearing it, Whittaker suggests turning it inside out and to avoid taking chambray materials to the dry cleaners, since it's easy to clean on your own. Instead, Below, you'll find more tips on how to iron a chambray shirt so it always looks good enough to wear to the office.
1. Read The Care Label
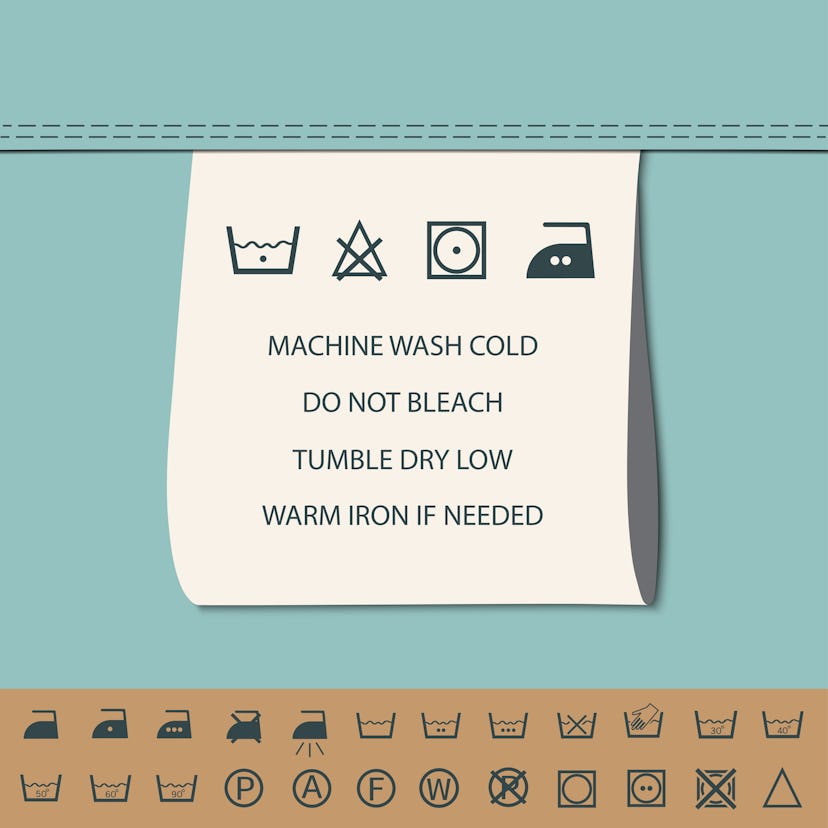
While chambray is usually made from cotton, you can see material variations from time to time, so be sure to check the label before you start ironing.
Cotton shirts are always OK to iron. But anything polyester will melt if you hit it with heat directly, so Good Housekeeping recommends turning it inside out and placing a white towel between the iron and your shirt. polyester shirts should be ironed on medium while they're slightly damp, either with steam or a warm spray bottle. And Simple Fabric recommends ironing lyocell shirts on medium — anything higher could scorch the fabric.
2. Consider Your Ironing Board
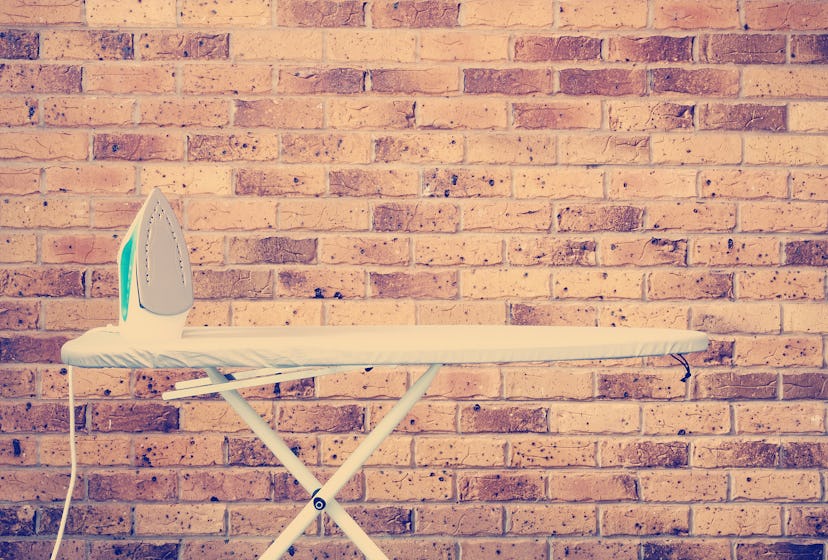
You do not necessarily need an iron board for this project, though it is preferred. Don't iron directly on a table or anything — irons are super hot after, all. If you do not have an ironing board, place a cloth towel down on a countertop or table.
If you do own an ironing board, The Art of Manliness suggests placing a piece of tinfoil on the bottom of the ironing board, then laying the shirt on top. This reflects the heat back onto the iron, which means you're hitting both sides at once.
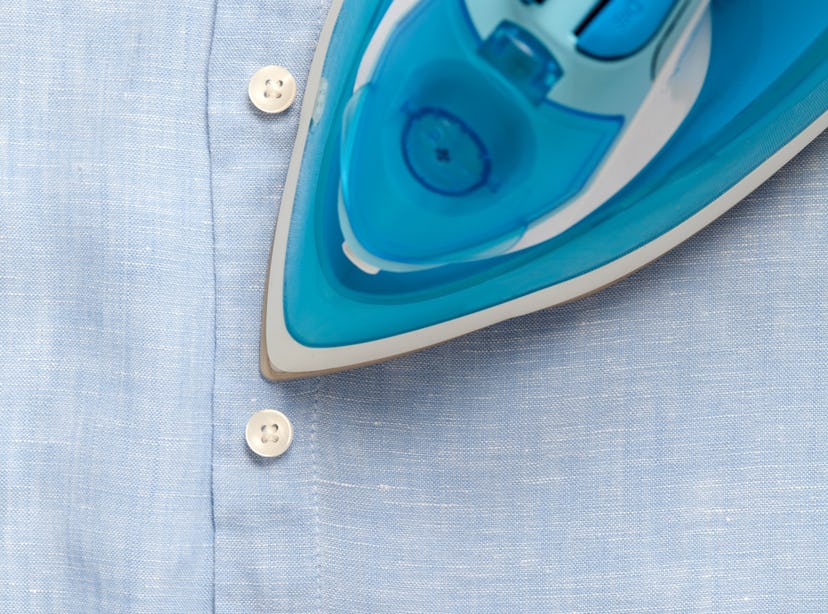
3. Start With The Collar & Cuffs
Unbutton the collar and the cuffs of the shirt to lay flat. Try to avoid running your iron over any buttons, as they could melt or get torn off. If college taught me nothing else, I learned that using an flat iron is actually best for this step.
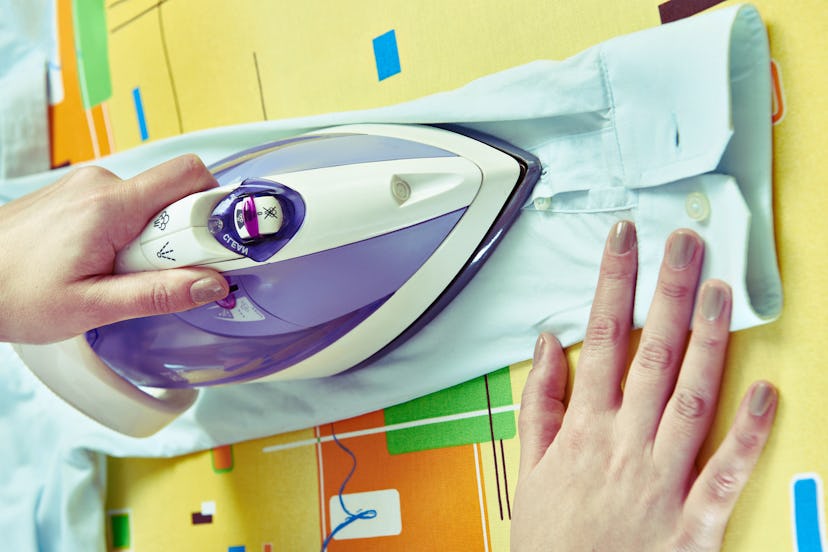
4. Iron The Front Of The Shirt
Lay the shirt flat over the board or towel and start ironing down the side with the buttons. Again, be careful to avoid ironing directly over the buttons. Start at the top of the shirt and work your way down. Then, use the same method to iron down the other side.
5. Iron The Back Of The Shirt

Drape the shirt over the ironing board, so only the back is being ironed. Otherwise, you run the risk of creating more wrinkles in the front. Start at the top and work your way down again.
6. Iron The Sleeves
Carefully lay the shirt on the iron board/surface as you would wear it, with the front of the shirt facing the ceiling. Don't button the shirt, but keep the buttons together. Place both sleeves horizontally out on the surface. Before ironing, get out as many wrinkles as you can with your hands. If you have creases already on the shirt, try to follow those creases instead of creating new formal creases.
And you're done! Lookin' sharp, sister.
Images: Andrew Phillips/Unsplash; taesmileland, THPStock, rukxstockphoto (2), Sergey Ryzhov/Fotolia
