Fashion
How To Make Lipstick Using Eyeshadow

When I was younger I loved wearing crazy vibrant eyeshadows that matched my equally bright hair. On an everyday basis I would apply pink and blue, gold and purple, or black (unblended, of course) to make my eyes “pop.” My makeup game has grown up since and I've learned a lot about blending and have moved away from bold eyes to bold lips. This new infatuation with striking lip colors has left me with an abundance of eyeshadows that I no longer use. I hate wasting makeup or letting it expire (because makeup can get old), so I figured the best DIY repurposing project was to make lipstick with eyeshadow. Finding a way to make lipstick at home would be the ultimate money-saver and cool experiment.
Normally, I’m not one for messes, but I am into trying new colors and getting out of my comfort zone. This means that taking all my dark or bold shadows and making them into lipstick can only bring me one step further away from playing it safe. Although there has been a trend where people use crayons to make lipstick, knowing that eyeshadow is basically compressed pigment and has already been tested as a cosmetic makes me feel like this is a safer way to do things.
Here's how it all went down:
The Ingredients

I have never tried this DIY experiment before, so I wasn’t sure of the results. Granted, I know that eyeshadow can be very bright, but it didn’t necessarily mean it would work when mixed together for lipstick. I decided to go with Wet n' Wild eyeshadows and plain chapstick to use as the lipstick base (instead of making lipstick from scratch).

Wet n Wild Color Icon Eyeshadow Single "Unchained", $1, Walgreens
It is totally possible to make your own lipstick using beeswax beads, shea butter, and a carrier oil like jojoba or coconut, but a plain chapstick is really the same idea without having to buy more ingredients and mixing them together properly. It's a shortcut I was definitely OK taking (see: my sugar waxing trial fail).
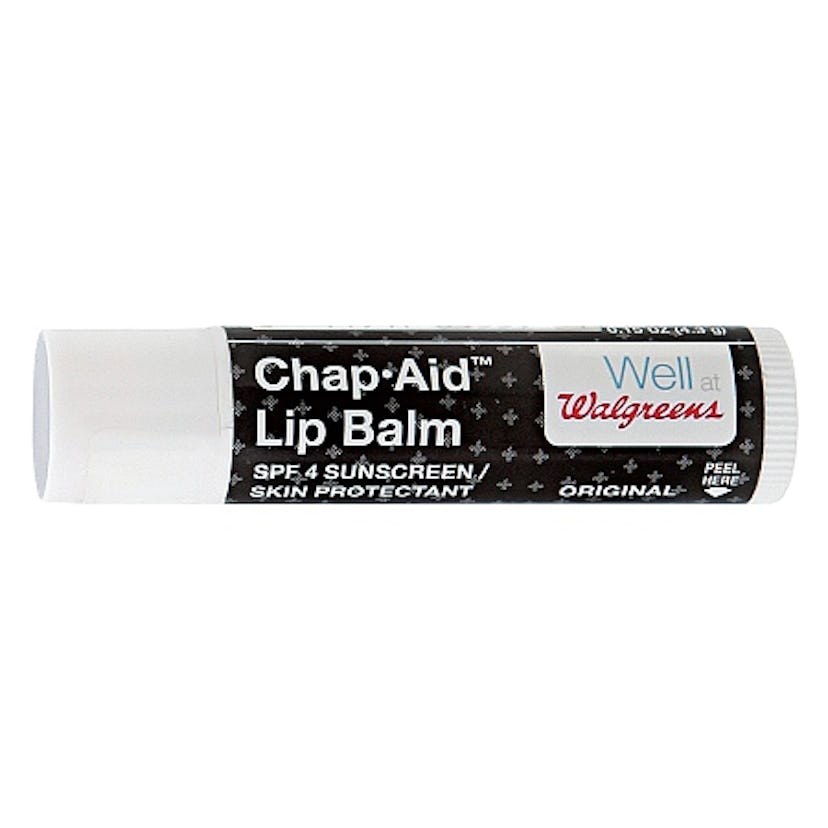
Walgreens Chap-Aid Lip Balm SPF 4 Original, $1, Walgreens
The Experiment

I began by removing the entire chapstick from its dispenser and placing it in a mug. Having watched YouTuber Nicole Skyes attempt to melt chapstick in the microwave and fail, I already knew that placing it in a water bath would be the most efficient way of turning the chapstick into liquid. I set the mug inside a pot of simmering water and waited.
The smell of melting chapstick is pretty disgusting, so I was grateful that I had bought one with no scent. While the chapstick melted, I took my Wet n Wild Suede eyeshadow and crushed it into a small bowl until it was as powdery as I could make it. I used a fork to sift through the shadow and then poured it into the mug of melted chapstick. Then, I mixed it up with the mug still in the hot water, so that the chapstick contents didn’t start hardening while I tried to blend the two ingredients together.
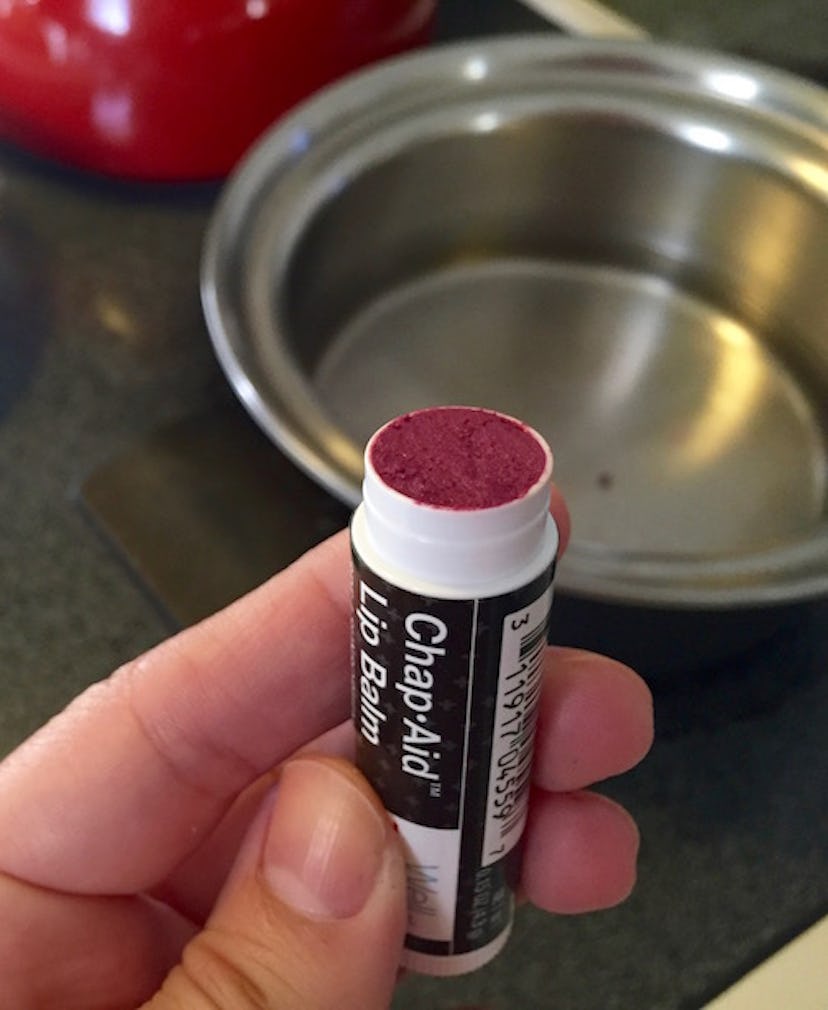
At first I thought the hardest part of making the lipstick would be mixing the two ingredients together, but I quickly learned that was not the case. In my decision to use a mug for fear of other dishes cracking in the hot water, I forgot that I would have to pour the chapstick back into the tube. While most of the chapstick poured out easily, it quickly began to harden and left me with a ton of chapstick still in the mug. I had to attempt to melt it again, scraping down the sides, and then try again to pour it into the tube. When I got as much chapstick in, I shaped the top of the chapstick to be flat, as it was super lumpy. I didn’t have anything else to use at my disposal, so I used my fingers to pressed it down.

Obviously, I couldn’t record while I was doing this step (I only have two hands), but I really wished someone had helped me because I finished with all my fingers colored blue. Nevertheless, I did end up with a finished product that looked like it would be a wonderful shade of blue. I placed this in the refrigerator to make sure it harden enough.
Afterwards, I did the same steps with the Wet n Wild Cheeky shadow. Learning from my first attempt, I used a smaller (disposable) dish to melt the chapstick. This would stop it from hardening faster, as the liquid would have less distance to travel before getting into the tube. I also crushed the eyeshadow even more and had a knife ready to flatten the top of the chapstick instead of using my fingers.
Doing these changes for the pink lipstic helped save me cleaning time and end up with significantly less color on my fingers.
The Results

To make sure that the newly-made lipsticks were fully hardened, I decided to wait until the next day to try them out. Since I made two colors, I thought it would be fun to wear them both at the same time to see which color looked the best.
I first applied the blue lipstick to my non-lipring side and noticed that it wasn't rolling on very precisely. I figured this was due to my lack of finesse to get the melted makeup back into the tube and because it wasn't slanted like a normal lipstick. I ended up using my finger to apply most of it, followed by a lip brush for the corners. Then, I did the same for the pink lipstick.
I was pleasantly surprised to see how vibrant both lipsticks looked, especially the blue. They didn't come out blotchy or lighter than the original eyeshadow colors. However, it was the fact that they were matte that sealed the deal for me. I adore matte anything, so having made my own matte lipstick was such a wonderful achievement. On top of that, I expected the eyeshadow to make the chapstick dry, but this wasn't the case either. Both lipsticks felt like regular chapstick that would normally moisturize your lips.
Final Thoughts

Now that I've made two lipsticks successfully, I can't wait to try this DIY again! I am especially fond of how the blue lipstick came out. Before this experiment, I wouldn't have bought a lipstick in this color, but now that I've seen how it looks, I can't wait to check out more shades like this. Although I would probably use a different container to store the lipsticks afterwards (like a lip balm container), there isn't much else I would change about the process.
Repurposing makeup is a great way to experiment and avoid losing makeup to expiration dates or other sad things like that. I'm excited to see if this DIY holds up with creme shadows!
Want more beauty tips? Check out the video below, and be sure to subscribe to Bustle’s YouTube page for more hacks and tricks!
Images: Vanesa Pacheco; Courtesy of brands.
