Fashion
How To Create "Bedhead" Waves In A Pinch

If you find yourself wondering how Gigi Hadid and Blake Lively always seem to pull off those effortless waves that scream "I woke up like this," it's not as impossible as it may seem. Learning how to create "bedhead" waves without having to wait overnight is so simple with the right tools. While no one's hair is perfect — believe it or not — bedhead waves are easier to fake than you think!
The most important part of any look is understanding your hair texture. If you have coarse, curly or wavy hair naturally, you'll want to blow dry it straight before you start. But if you have straighter hair like mine, you'll want to let your hair air dry. Sometimes blowdrying already straight hair can leave us in the flat zone — and the last thing we want to do is make our hair flatter, especially because the best bedhead waves require some volume. If possible, I recommend air drying or blowdrying your the night before. Plus, prepping the night before is a major time saver the next morning!
I'll teach you a few tips and tricks you can use to help create the best and most effortless looking waves. With the right products and techniques, you'll be out the door in ten minutes with a look that lasts all day.
1. Use Your Shampoo Second
This is especially true if you have straighter hair. For those of you who are big on silky hair — I'm not saying to skip your conditioner — just use it first! Since conditioner leaves behind a residue, it can weigh the hair down which makes it difficult for the hair to hold a more relaxed curl. Using your shampoo second will give your hair just enough texture to help hold the style all day long!
2. Prep With The Proper Products
Before you start curling, it's important to use a heat protectant and an awesome styling cream to help hold your look all day long.
3. Use A Smaller Curling Iron

Conair Infiniti Pro Curling Iron, Ulta.com, $19.99
For this look, I use a Conair Infiniti Pro Curling Iron. You should make sure that the iron you're using is no larger than 1 1/2 inches. If you use an iron larger than that, your look will turn out more like a blowout and less like messy waves.
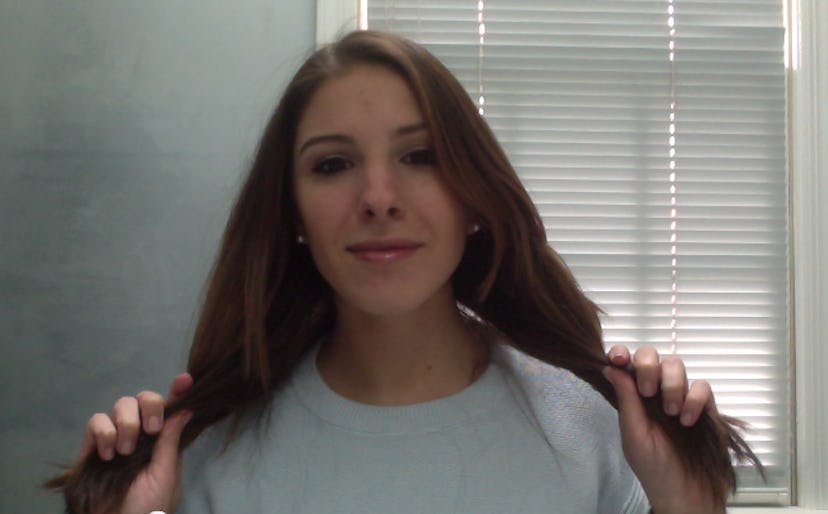
4. Curl Random Sections & Hold The Iron Upside Down
The key to bedhead hair is to not curl every section — it's perfectly OK to leave some pieces straight. That's what gives you a more natural, less "done up" look. As you'll see in the video, I start with half of my hair up and curl random sections. While the pieces near your face should be curled away from your face, you can alternate curling directions as you get further towards the back. If your waves aren't all going the same direction, they will look more natural.
As you're curling, be sure to hold the iron upside down and avoid using the clamp. Clamping can cause unwanted bends at the ends of the hair — simply hold the end of each section and be careful not to get your fingers too close to the iron. You'll notice that using the iron upside down will give you a more natural looking wave as opposed to a ringletty prom curl. You'll also notice that I'm not holding the heat on for long, which helps me get a more relaxed curl.
5. Scrunch With A Sea Salt Spray
To finish the look, I used Not Your Mother's Beach Babe Spray. Basically, it gives my hair a piecier look, which is exactly what says "I woke up like this!"

Not Your Mother's Beach Babe Spray, Ulta.com, $6.19
The Final Look
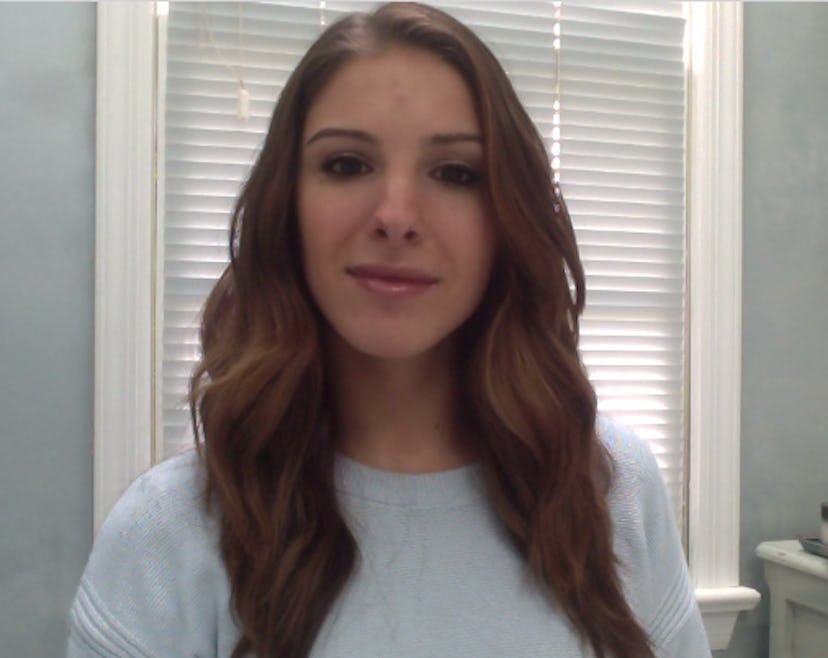
Et voila — "bedhead" waves without having to wait overnight! This look is super easy to achieve and is perfect for any occasion, from date night to brunch with the girls. Oh, and a friendly reminder: Do not brush your hair after you finish styling! This will undo the curls you worked so hard to create and if you have curly or wavy hair, it may even cause frizziness (yikes).
Images: Alexa Dragoumis; Courtesy of Brands
