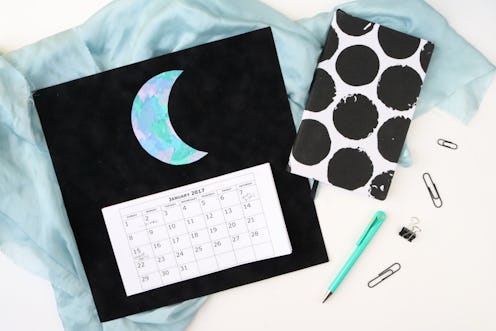
It is hard to believe that another year is coming to an end. If you like to stay organized, you have probably been searching for a fun calendar to spruce up your space and welcome in a new year. But, instead of shelling out the cash, why not make a DIY collage moon 2017 calendar? This is an awesome way to exercise creativity with a beginner-friendly project. It doesn’t hurt that it's easy on the wallet, too.
If you’re all about digital planners, you might be wondering why someone would even need a physical calendar. I mean, I don't blame you. There are so many perks to a digital calendar, after all. Look at it this way — a physical version can double as lovely artwork for your wall. It can also help you limit screen time in 2017. And, if one of your New Year's resolutions is disconnect from the world more often, an actual calendar can be useful.
And then there is the crafty factor. If you are aiming to be more creative in 2017, this is the perfect chance to get started. It calls for simple supplies and even simpler skills — promise. Plus, how cool is that collaged moon? Once you’re done, you will have a totally unique calendar that can’t be found anywhere else.

Supplies:
- 12 x 12" card stock, cardboard, or stiff fabric (for the base)- Cardboard- Card stock (1 sheet, for the collage)- Printer paper (6-12 sheets)- Tissue paper, scrap paper, old magazines- Glue stick- PVA adhesive glue*- Foam brush- Pencil- Round object- Scissors- Paper cutter (optional)
(* This a type of glue used in book binding. It's applied to the edge of a stack of paper. And while it keeps everything together, you can still tear a sheet away. You can find PVA glue at Paper Source and Amazon.)

1. Tear paper of your choice into random pieces. Tissue paper is awesome for creating a stained glass look, but old magazine or newspaper pages work just as a great. Choose whatever fits your style and personality.
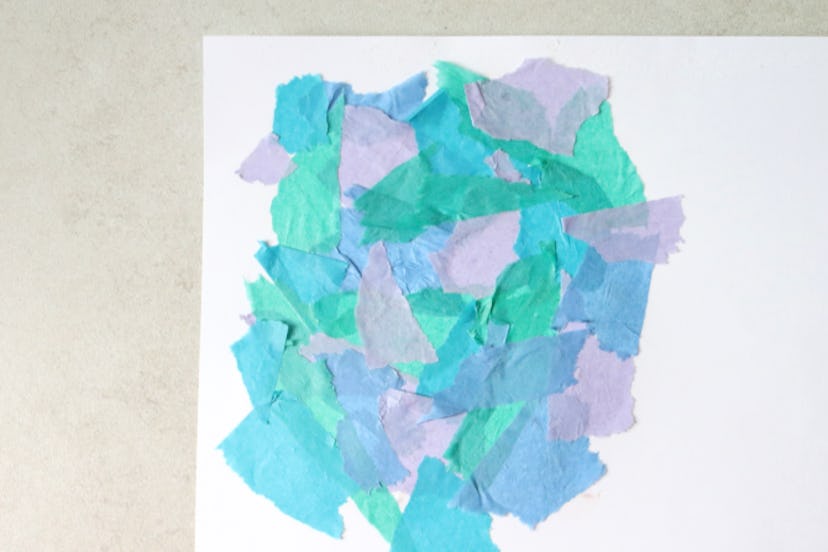
2. With the glue stick, layer the pieces of paper on a sheet of card stock. There's no rhyme or reason to this part. Just have fun with it!
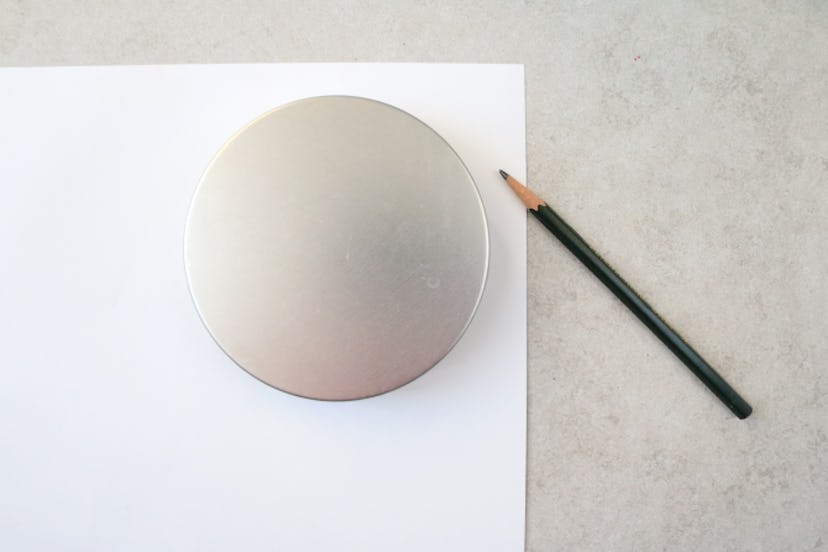
3. Turn the card stock over. On the back side, trace the round object.
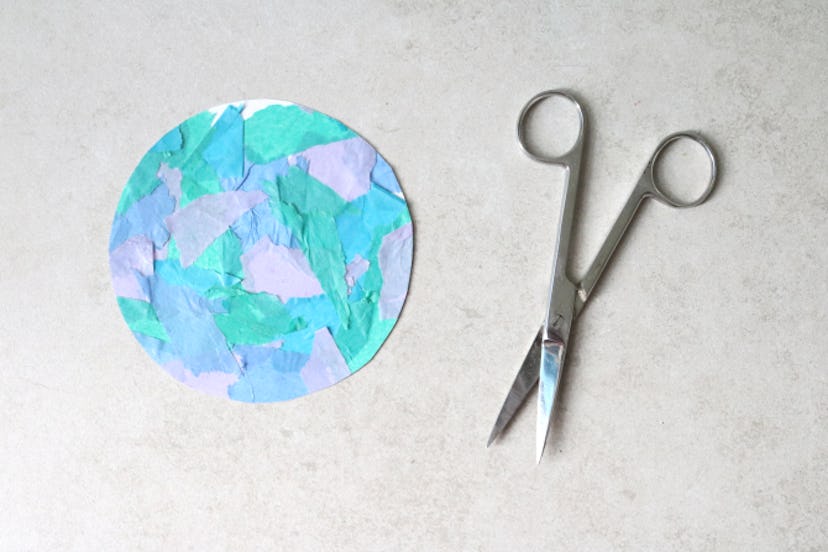
4. Cut the card stock along the traced line. At this point, you basically have a full moon. If you'd rather use this on your calendar, feel free to skip to Step 7.

5. Turn the moon over once more. Place the round object halfway on the paper moon and trace.
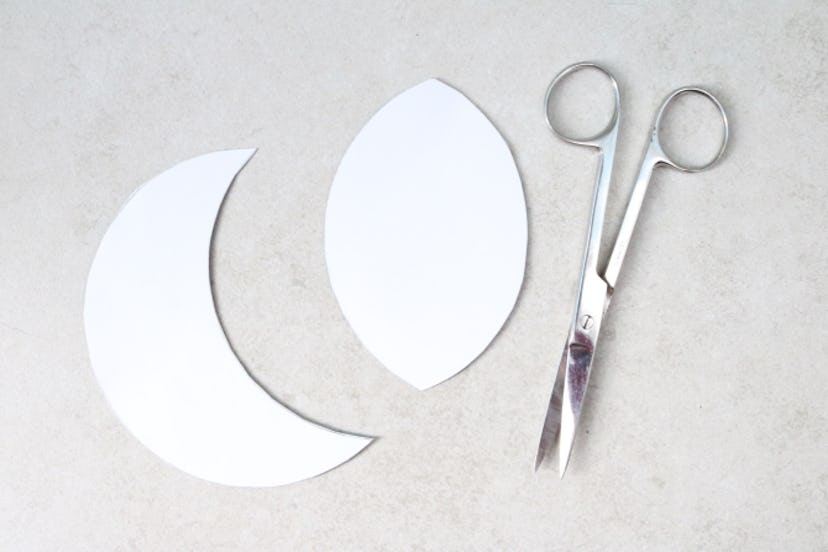
6. Cut the moon along this line to create a crescent moon.

7. Now, it's time to print out your calendar. For half-page months, simply tweak your printer settings to include two pages in one. For full-page months, print the calendar as usual. Again, sources like Printable 2017 Calendars and Calendar Labs are full of free and printable calendars. You can also design your own in Photoshop, if you're cool like that.

8. If needed, trim the calendars with scissors or a paper cutter. Try your best to make sure each page is roughly the same size.
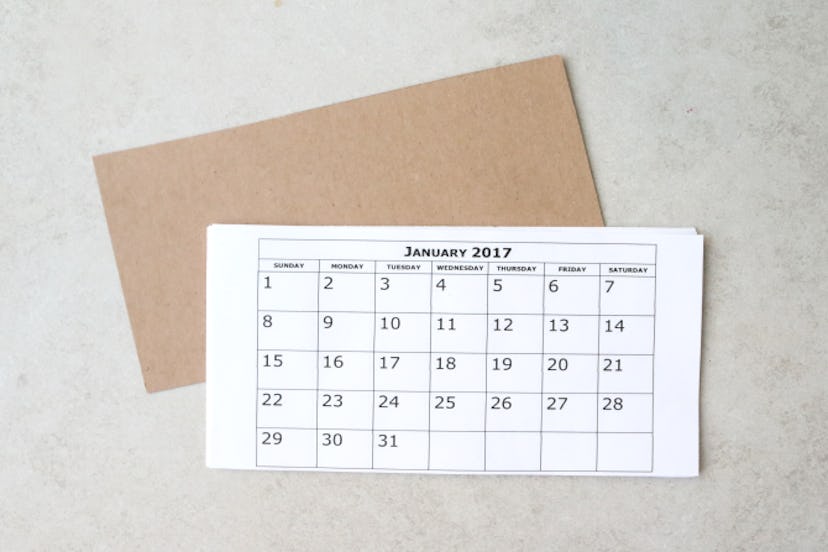
9. Cut a segment of cardboard measuring the same size as your monthly pages.

10. Layer the pages (in order!) on top of the cardboard. Apply a light layer of PVA glue along the top edge. Leave to dry. You might have to place a few heavy books on top of the pages to keep everything in place.

11. Now, here's the fun part. Construct your calendar by gluing the collage moon and calendar pages to the 12 x 12" base. You can use a light layer of the PVA glue for this. If you're using a full page calendar, adhere the top half of it to the base and let the rest hang off the bottom.
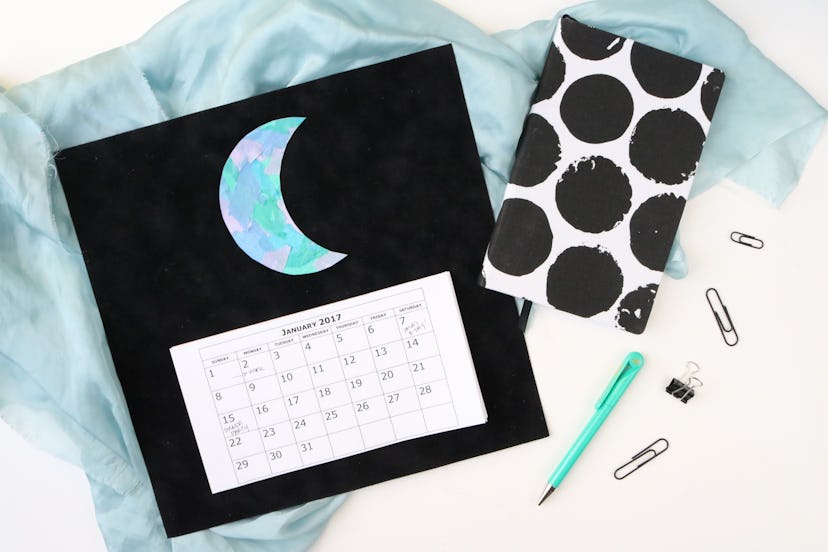
Once dry, your new calendar is ready to spruce up your wall. To hang it up, you can use push pins or wall tack. You can also punch two holes along the top and add a strand of cord.
Look at you, being all crafty. Happy New Year!
Images: Kirsten Nunez/Bustle (14)
