Life
DIY Wine Cork Art That Puts Those Leftover Holiday Wine Bottles to Good Use

Along with all the leftover food, discarded wrapping paper, and empty Amazon boxes, you probably have a few empty wine bottles lying around after the holidays. Don't worry — we'll only call it a few . I would definitely call myself a wino, and holiday after holiday, I've hung on to a few cool bottles and a ton of wine corks in the hopes of replicating some Pinterest-worthy DIYs.
But with the craziness of the holidays (and the slight hangover of New Year's Eve), you're going to want to do something easy with those corks, right? Good news! I have the perfect DIY cork decor project for you — it'll look great next to all the bottles you got for Christmas.
Images: Emily Kelley
Step 1: Gather Corks
You’ll need about 35 corks for this project. I know, that seems like a lot. So unless you’ve been saving corks for a while (like me), you can help supplement by buying corks from a craft store or online.
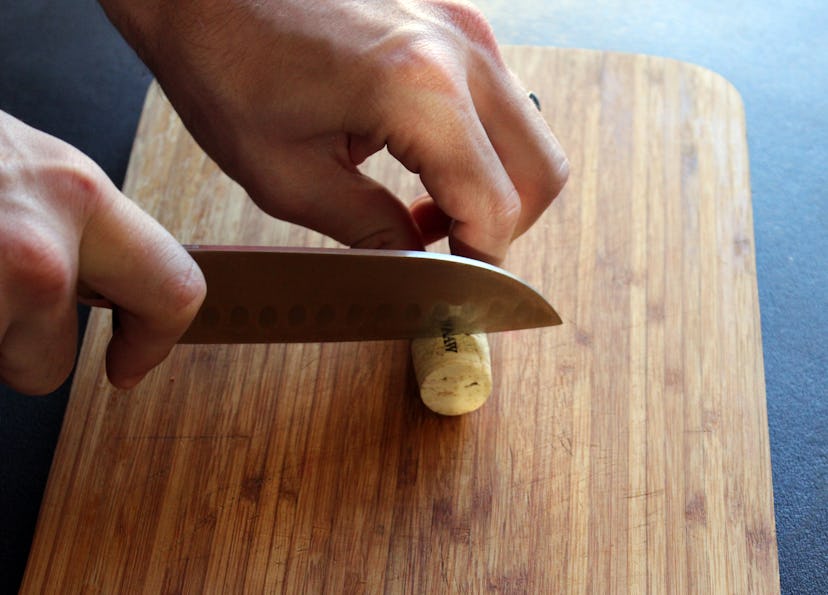
Step 2: Cut Corks
Using a sharp knife, slice into the cork starting at the edge, while holding on tightly to the back of the cork. Depending on how thick you want your pieces, you can get about three or four pieces from each cork. You’ll need pieces of plain, tan cork, and the red wine soaked edges. Pro tip: Rotate the cork as you cut it — it’ll help give you a clean slice.

Step 3: Gather Materials
Aside from the sliced corks, you’ll also need some glue (I recommend E-6000), and a backing to glue the corks to. The backing can be whatever you want it to be, depending on your particular aesthetic and your home decor. Frames work well, as does wood. I used a wood backing I found at JoAnn’s.

Step 4: Lay Out the Pattern
Before you start gluing, you’ll want to lay out a pattern to make sure all the corks look the way you want them to, and that they all fit right on your backing. You can try to use corks that all have a similar look, or mix and match for a different look. Make sure you put the wine soaked pieces inside to make sure they fit, too.

Step 5: Glue Down the Cork
Put some glue on each piece of cork. If you use E-6000, you’ll only need a little bit for each piece. Warning: Be careful using hot glue, because it might melt the cork slightly and make them sunken in and uneven.

Step 6: Let the Outline Set
Press down on the corks to make sure the glue sets. The glue should dry in about five minutes, so leave the backing laying down as to not let the corks slip.

Step 7: Fill In With Wine Soaked Corks
After the outline of the bottle is done, you can fill in the middle with the wine soaked cork ends. Same thing as with the outline: you can use ends that all look the same, or mix and match.

Step 8: Let Everything Set
Let the outline and the middle set for at least 24 hours before hanging or gifting.

Ta Da!
Why not enjoy your knew decor over a glass of wine?

