Fashion
How To Make Your Own Custom Facial Oil

Oil is such a hot button issue, and with good reason. Many are still scared to put oil directly on their face, as it seems counterintuitive to what we used to know about skincare. If this applies to you, I must highly recommend this DIY face oil recipe — making the stuff on your own ensures you pick ingredients that won't mess with your skin type. I happen to possess fairly oily skin, and I can attest to the awesomeness of using oil in your skincare routine. Oil not only provides added moisture and a very faint spf (most oils are an spf of about 4) but can also add nutrients and thin out your body’s natural oil.
On the market today, you can find face oils at all price ranges. From the most fab and exotic stuff with added vitamins up to hundreds of dollars in price, to natural/drugstore brands that don’t mess around either but are usually at least 10 bucks, there are a lot to choose from. These oils can be great and do wonders for your skin, but I’m here to let you know it can be done for far cheaper. With a small vial and a bit of knowhow, you can create a blend that gives your skin everything, costs next to nothing, and is easy to make every time you need it.
For this blend, you need a carrier oil, an exotic oil, and essential oils. The carrier is usually a more affordable oil suited to your needs. Dry skin can go with olive, argan, or coconut, combination skin jojoba, grape seed, or hemp seed oils. These oils are cheap enough to serve as a base for dilution and easy to find.
Exotic oils are generally imported, which means they can be a bit pricier. However, most of the time these are the more nutritious oils that also contain other skin friendly active ingredients such as omega fatty acids, vitamin E, vitamin A, and linoleic/alpha linolenic acids. You can save money on these oils by purchasing them in their pure form and using sparingly. Exotic oils such as evening primrose, rosehip, sea buckthorn, tamanu, and perilla all do different things for skin, so you can mix and match to get all the benefits you want.
Essential oils are sometimes oil, sometimes a terpene rich fluid called an oleoresin, which is not quite an oil, but a pure distillation of a plant. Tea tree, clove, frankincense, thyme, and geranium are all great for skin when dosed properly. The best way to deliver essential oils to the skin is diluted in a carrier oil, so adding some to your face oil blend is an ingenious delivery method.
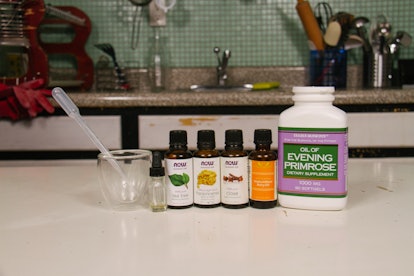
Let's get started! You'll need:
- A clean vial. Mine is 3mL, and it lasts about 3 weeks.
- carrier oil
- exotic oil
- essential oil
Step 1: Fill up vial 3/4 of the way with a carrier oil of your choice. For my recipe I used evening primrose oil, since it’s super packed with alpha linolenic acid and not too pricey when you snag it at Trader Joe’s.
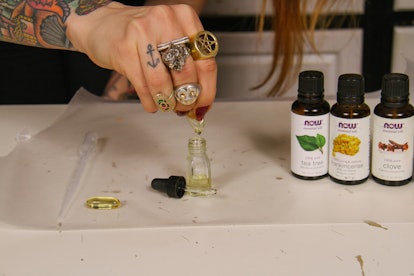
Step 2: Fill it it almost to the top with an exotic oil. I chose sea buckthorn oil, an omega-9 rich oil great for healing acne and almost too precious (and foul smelling) to use straight.
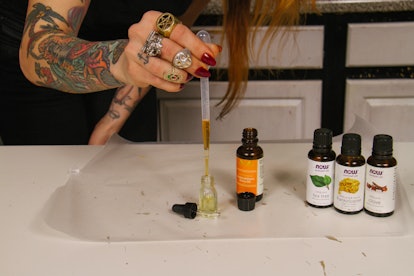
Step 3: Add 5-15 drops of essential oil. Don’t exceed three drops of clove or thyme if you choose to use those, because they can be super harsh on your skin. My ratio of essential oils was seven drops tea tree, five drops frankincense, and three drops clove.
That’s pretty potent, but I like it that way and it's cool as long as I keep it away from my eyes. If you want a more chill version, skip the clove and tea tree altogether and use geranium, lavender, and frankincense to make a dry skin treat, tea tree and clove are more for acne and oily skin.

Step 4: Shake to mix.
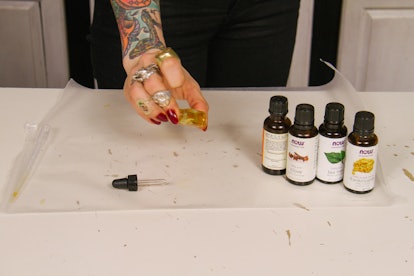
Step 5: Use three drops on a clean, toned face. I especially love putting it on at night and letting it all soak in while I sleep.

Keeping the recipe small not only saves money if the blend isn’t up to par, it also allows you to store larger bottles of oil safely, only exposing a small amount at a time to bathroom germs. I change my recipe up based on my needs — it’s so fun to try new combinations!
Photos: Darnell Scott
