It's true, we humans are obsessed with mermaids, and this obsession leads many of us to wanting to get mermaid hair. Perhaps it's the unusual, fantastical beauty that we love. In a world filled with plastic surgery and hair extensions, we are now subconsciously craving nature and natural beauty. It could be the mystery and intrigue associated with these mythical creatures as well — do you believe in Atlantis? Or maybe it's the fact that we're too excited about Sofia Coppola directing a live action remake of The Little Mermaid. Whatever the reason, mermaids are seen as almost other-worldly, beautiful creatures with voices like angels (beware the siren song!) and we just can't get enough of them.
So, do you want magical mermaid hair that's easy to achieve and super thrifty? Flippin' your fins won't get you too far, but with this DIY tutorial, you'll be running cutlery through your gorgeous mermaid locks in no time. As I have mentioned in a previous tutorial, I am by no means a hairdresser or hair expert; in fact I'm probably the opposite. So if I can achieve mermaid hair, then you guys can do it with a cherry on top!
What You'll Need:
- Hair chalks: I got a very cheap pack from a local beauty store. They were approximately $3 for a selection of colors.
- Hair dryer: I already had one but if you don't, why not pop around to a friend's and create mermaid hair together?
- Heated rollers: These are not a necessity but I use them because they are so incredibly hassle-free. Mine were about $45. A curling iron will do the trick or you could use straighteners to curl your hair. If you are without all of these, why not ask to borrow a pair/set from a friend or as above, try mermaid hair together.
- A sink: This will get messy, so put a towel on the floor and it will save you mopping later; I speak from experience.
- Hair brush
- Hair band
You Ready? Let's Do This:
Before
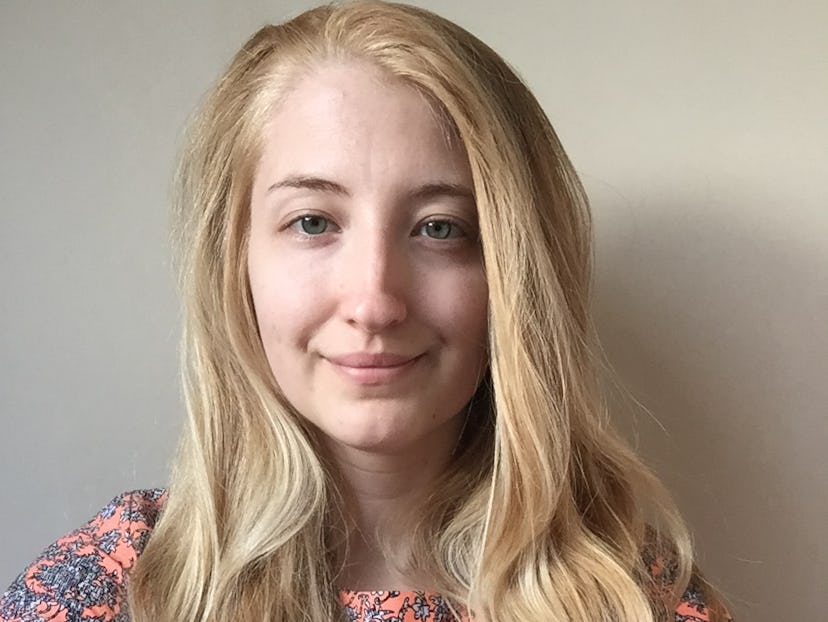
This was my hair before. I had prepped it by braiding it after washing and leaving it in for the day, however, I don't think this step is vital but it may have helped add volume to the end product.
Step 1: Section Your Hair

Section off your hair so that you can get to the bottom layers. I thought this would be the best way to go about making sure it's a multi-layered look and that all of the colored sections aren't just sitting on the top layer of your hair. I thought it would be easier to build on it rather than having to mess around by sectioning layers underneath later on.
Step 2: Pick A Color(s)

These are the chalks that I bought and I used them to recreate a Kylie Jenner hairstyle in the past. I was so impressed with them that I decided to use them again in this tutorial. Plus for about $3, you really can't go wrong.

Here are the colors that you get in the pack ‚ excuse the preloved, disheveled blue stick, I used this one before — so you can go as colorful as you desire. The thing I love about hair chalks is that you don't have to commit to a bright color; you can try it, see if you like it, and then wash it out. If you really love the outcome of this tutorial, you could try it again but with permanent hair dye instead.

For this tutorial, I picked the pink and purple as I thought they would complement each other. I am not sure how well they would show up on dark hair, though. Perhaps the yellow and/or pink would be a good choice. Dark hair may need lightening prior to applying the chalks, which shouldn't be too difficult to achieve as I am only coloring sections, so you could just put a few light streaks in your barnet.
Step 3: Start To Part

Now you need to decide on how big you want your colored sections to be. Mine were not all the same thickness; some were about as thick as you can see in the picture whereas others were maybe half this size. I didn't worry about this too much because I knew it wouldn't make a huge difference when it was all curled in together. In fact, I thought a bit of variation would make it appear more "natural."
Step 4: Add Your Color

I tried the purple chalk first. I used this by filling the sink with water and wetting my chalk. I then proceeded to literally color my hair in. The best method I found for this was lying the chalk horizontally across my fingers, pulling my hair taut and dragging the chalk down.

I repeated this method with the pink chalk with a section of hair from the other side of my head.
Step 5: Dry Your Colored Sections

I thought it best to dry my colored sections as I went along. Hair chalk works by literally coating your hair in a chalky substance (believe it or not!) and it can make your hair quite knotty if you don't keep on top of it. So instead of waiting until I had finished coloring, I thought it would be easier to brush and dry the colored parts after each couple of sections I colored.
Step 6: Move Up & Repeat

Next, I let the "middle" layer of my hair down and I repeated Step 5. As you can see, it worked quite well as I had managed to build layers of color.

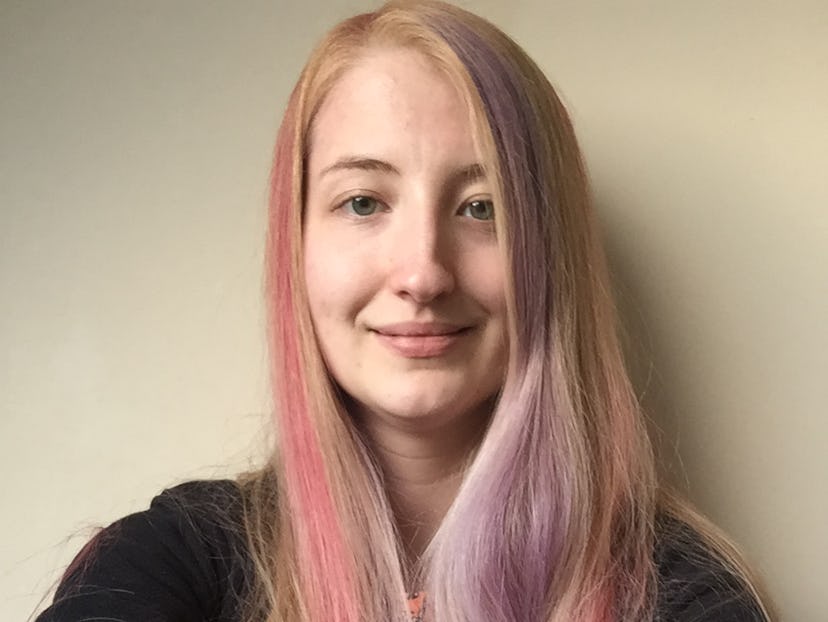
Step 7: Color The Top Layer

I repeated Step 6: I let all of my hair out and colored some final streaks on the top layer of my hair. After drying, it looked like this:
Step 8: Curl Your Colored Hair
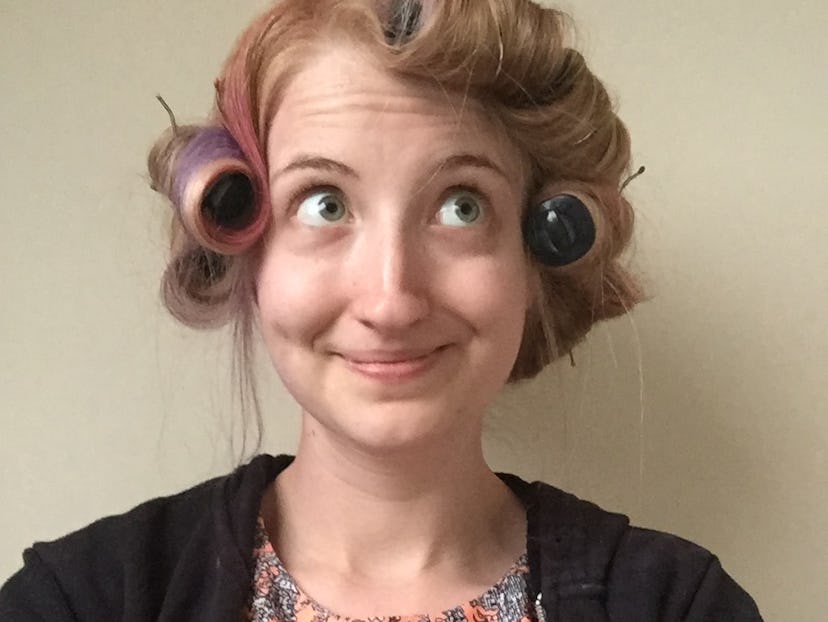
For me, I find heated rollers by far the easiest method of creating mermaid waves. You literally turn them on, allow them to heat up, and then put them in your hair. The beauty of heated rollers is the time you can save if you are using them for a special occasion/night out. You can put your heated rollers in and then proceed to do other things, for instance shower (with a shower cap), put your makeup on, eat, etc! It saves so much time because it takes out the hair styling step you would normally have to make. These Babyliss heated rollers were about $45 and I have had them for eight years. They've never let me down!
By all means if you don't have heated rollers or don't want to invest in some just yet, please feel free to use curling irons or straighteners at this point to curl your hair. Make sure not to start curling at the root of your hair and begin each curl a couple of inches down from your root — this is key to the mermaid hairstyle, the curls should be wavy not tight.
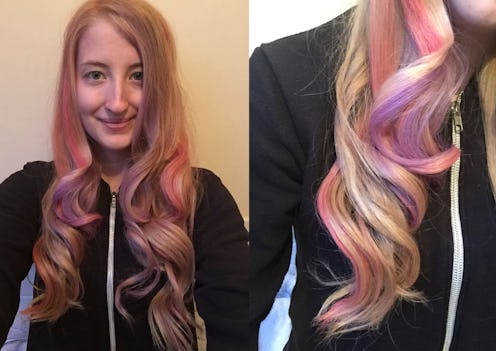
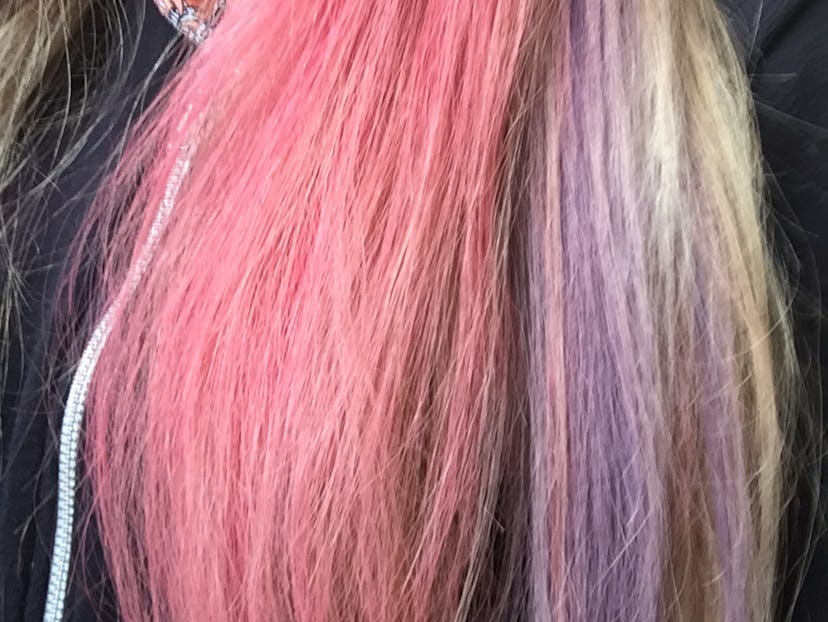
End Result: Magical Mermaid Hair!


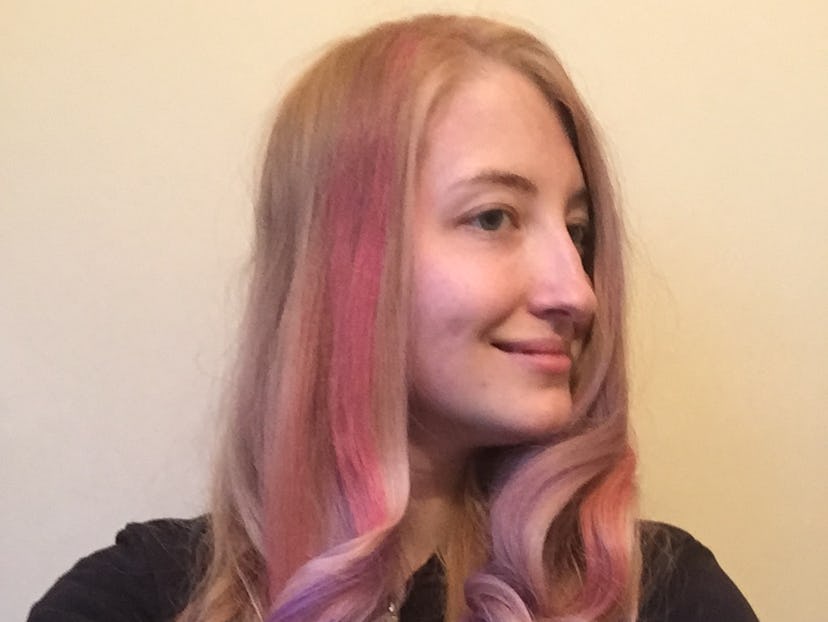
I absolutely loved wearing this style and considering it's so cheap and easy, I will definitely be doing it again. I took some close-ups as unfortunately it had started to rain, so the light was not as great as it had been:


To secure this style, use hairspray to set it. I actually can't believe that someone with as little hairstyling skills as I can master this awesome look. Now I just need to locate Atlantis and find my people...
Images: Author's Own; Giphy
