Fashion
Can You Curl Your Hair With Soda Cans?

My mom was never a beauty thrill seeker, but she did have a few tricks up her sleeve when she was growing up. One of those hacks just happened to be using soda can hair curlers to get flawless, bouncy waves. Unlike my mama who was born with a full head of curls and had hair long enough to make Rapunzel envious, my shorter and straighter locks were definitely going to need something smaller to hold that curly shape.
Despite being as introverted as they come, I’m no stranger to beauty experiments, trying everything from mayo hair masks to Kool-Aid color. Yes, I’ve even tried Disney Princess hair for an entire day to see if Prince Charming (aka Tom Hiddleston) would finally whisk me away from my house in the woods. Although I’m still waiting for Mr. Hiddles to still show up, I’m definitely always on the prowl to test out those wild and wacky DIY gems that have my folks scratching their heads in confusion. This whole soda can thing seemed pretty legit.
Being somewhat of a trend stalker, I’ve definitely seen the idea of wrapping your hair around soda cans online. I mean, even Lady Gaga herself put her Diet Coke cans to work once. So, if it’s good enough for YouTube influencers and mega pop stars, there was nothing stopping me from giving this idea a test drive. Grabbing some seltzer cans and bobby pins I had lying around, here’s how my latest beauty adventure turned out.
The Prep

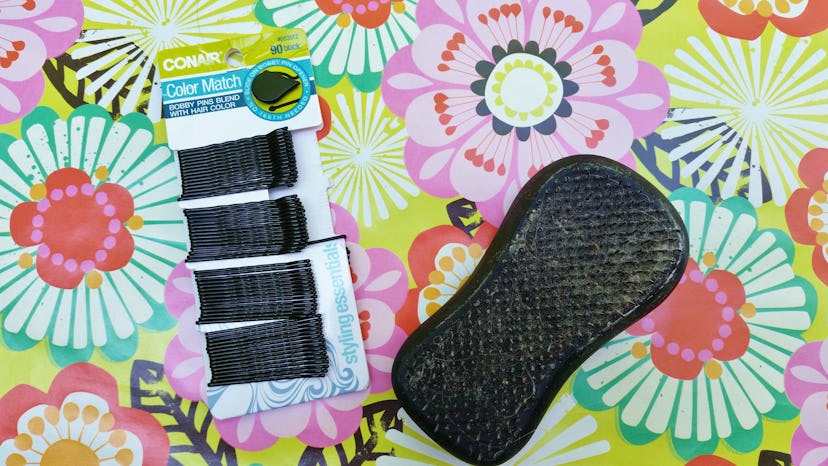
First plus to this method: Curling irons are expensive; soda cans are not. Your soda cans don’t have to be expensive, as a good old pack of seltzer probably costs less than $5 at your local food store. Although there are a variety of ways to secure your style (hair elastics and hair spray work great too), bobby pins never fail me, so I picked up a jumbo pack for only $2.49.
After watching six different tutorials straight, I was pretty sure I could master this look in my sleep. I mean, the Wrap Snap & Go was a pain in my backside, but somehow I figured that out.
Oh how wrong I was. Unless you are a hair weaving mastermind, chances are it will take you a few tries to get your cans to stay in place. After 40 minutes and several hundred bobby pins later, my hair finally was finally set. Since I have a short cut, I only had to use six cans in total, but you made need more for longer 'dos. Once your curlers are set, it’s pretty darn difficult to move around. With that said, you might want try this style when you’ve got a bad case of boredom, or on all your days off.
If you share my attention span of a three-year-old, you might only want to limit your waiting time to an hour, being that your constant fidgeting and jerking about can definitely cause your curlers to fall out. How Gaga can break into dance and still have her cans in place, truly perplexes me.
The Results

Removing your cans may be crazy, but it’s kinda of fun to watch this look break down in the end. My hair was definitely pinned worse than a voodoo doll, so it took a good few minutes to remove both the cans and pins. But once the chaos was all over, my hair definitely was treated to more volume than before. Maybe if I left them in longer, the results could have been more about curl than volume.
Although I didn’t see humongous, life changing results, it felt pretty neat to experiment with something so inexpensive that didn’t heat damage my locks in the process. Yes, you’ll need lots of bobby pins and a good few hours to set this style in, but don’t expect the results to be anything like your rotating irons and crimpers. Instead this style is better to give you volume, especially on those dirty 'do days when your hair needs a boost. Unlike mom, I’ll probably stick with my foam roller curlers instead. They seem to get the job done just the same anyway.
Images: Courtney Leiva (3), Giphy (1)
