
When I saw the new trailer for the new superhero (or rather super villain) movie Suicide Squad, set to hit the big screen in summer 2016, I was absolutely blown away — almost literally! Everything about it was perfect: From the creepy soundtrack to the revamped Harley Quinn hair. I felt like I was floating on a happy little comic book movie cloud. Harley Quinn was actually the highlight of the trailer for me; possibly because she's a villainess who is new to me — as she's appeared mainly as a cartoon or in CGI in comics, animated series, and games that I have sadly missed out on — in comparison to say, Catwoman who has appeared in many live action adaptations, taking part in the Batman universe, which I have seen.
My newly discovered Harley Quinn girl crush could also be down to the choice of actress in the Suicide Squad movie; the new face to know Margot Robbie. Ms. Robbie played a captivating performance in her role opposite Leonardo DiCaprio in The Wolf of Wall Street and her performance in Suicide Squad looks no less intoxicating. With her platinum blonde pigtails, eye-catching outfits, and ass kicking skills, she reminds me of Babydoll from Sucker Punch who is another favorite heroine of mine.
So if you too admire Harley Quinn's new look or you're a fan of colorful ombré or dip dyed hair, then here's how to get Harley Quinn Suicide Squad hair at home.
Before

To start, you will need to prepare your equipment. To recreate this look you will need:
- An old or dark colored towel you don't mind getting dirty along with one for the floor to catch drips
- A hairdryer
- Some bobby pins
- Two hair ties
- Two ribbons: One red (mine was actually bright pink but red is better) and one blue
- Hairbrush
- Blue and pink hair chalks — I used two packs as I had a pink chalk in one and a blue in the other

This was my hair at the start of the tutorial. I think hair chalks would work fine on darker hair; it may be worth testing them out, however. For a really bright effect, you might want to get a professional or a hairdresser friend to bleach the ends of your hair first so that the chalk will take. Alternatively, you could also use spray on color in a can which I think would probably work just as well, though I feel I have slightly more control over hair chalks than spray color.
Step 1: Separate Your Hair

To begin, you will need to put your hair in a center parting and separate your hair. Decide which side you are going to color first and tie the other half up in a bun so that it is out of the way.
Step 2: First Color

Grab your first chalk. I would recommend going for pink first as it is lighter than the blue. When you brush your hair afterwards, some chalk dust will come off onto your brush and you can wipe it off, but it won't all come off. I had thought about washing my brush but I didn't have time to wait for it to dry. If you had two brushes this would be ideal. So I would recommend starting with the pink chalk because if there is a little dust left over on your brush, it will probably be covered over by the blue chalk as the blue is a darker shade.
Put your towel around your shoulders and lay the other towel on the floor around your sink. Fill your sink about halfway with warm water. Begin by dipping your chalk into your basin so it is wet and start to "color in" your hair. Start at the ends and make sure they take on the strongest color. Work your way up, leaving slight gaps as you get up to about two thirds of your pigtail.
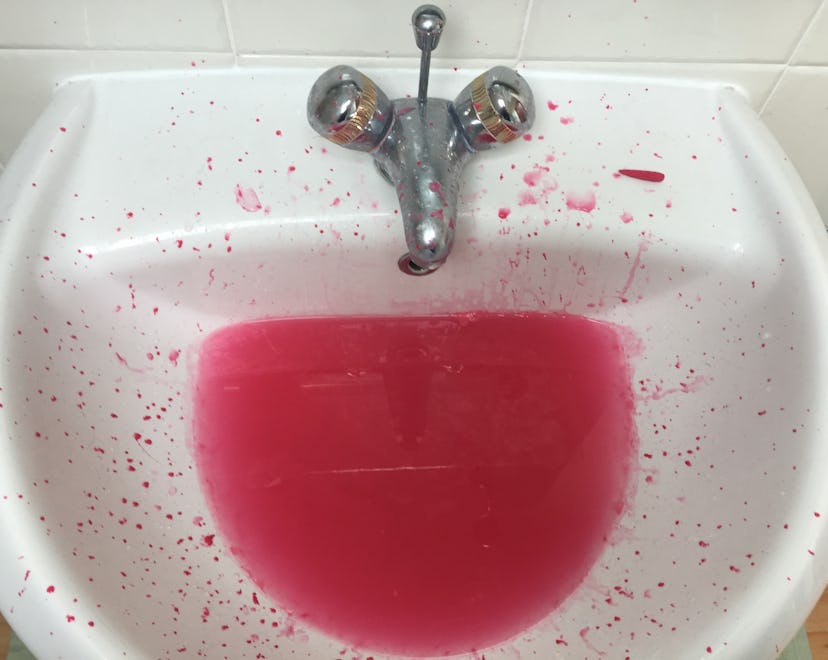
Be warned this is super messy but it's totally worth it and it's not too difficult to clean up. Thus the towel on the floor comes in really useful.

You will be left with something like this: A dripping wet, pink pigtail.
Step 3: Dry Your Pigtail
Dry and brush your colored pigtail. As I mentioned before, don't worry if some chalk dust comes off onto your hairbrush, this is normal and it shouldn't affect your color much.
Step 4: Tie Up Your Colored Pigtail

Tie up your colored pigtail into a bun and bring your un-colored hair down.
Step 5: Repeat Process With Second Color

This stick of chalk was not looking as pristine as the pink one, as I'd used it in a previous experiment.

Practice the same method as before and you should be left with a blue colored pigtail.
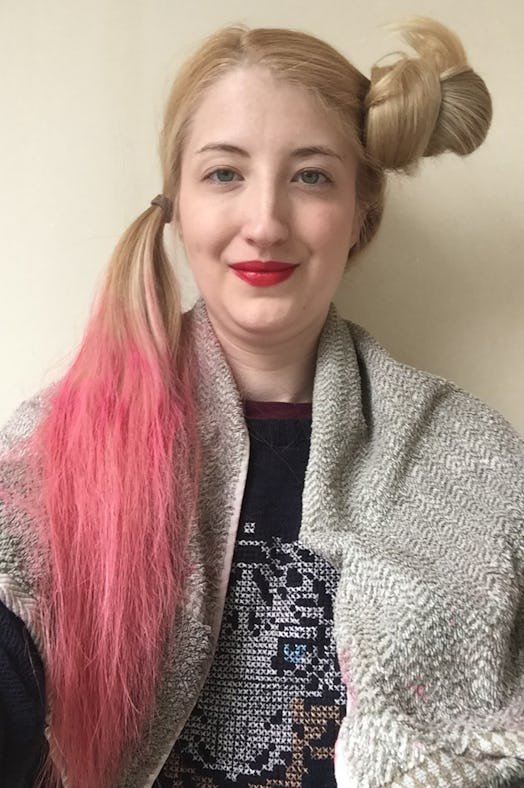
Step 6: Tie Your Harley Pigtails

Fashion your hair into two high pigtails like Harley's hairstyle.

Make sure to leave two strands of hair on either side of your face like Ms. Quinn, which softens your look.
Step 7: Finish Off With Ribbons


Complete your look by wrapping the ribbons around your hair ties to truly channel Harley. Wrap the blue ribbon around the hair tie securing the blue pigtail and the red ribbon (or pink in my case) around the hair tie, holding the pink pigtail so that they match. Hold them down with bobby pins pinned underneath the pigtails and your look is complete.
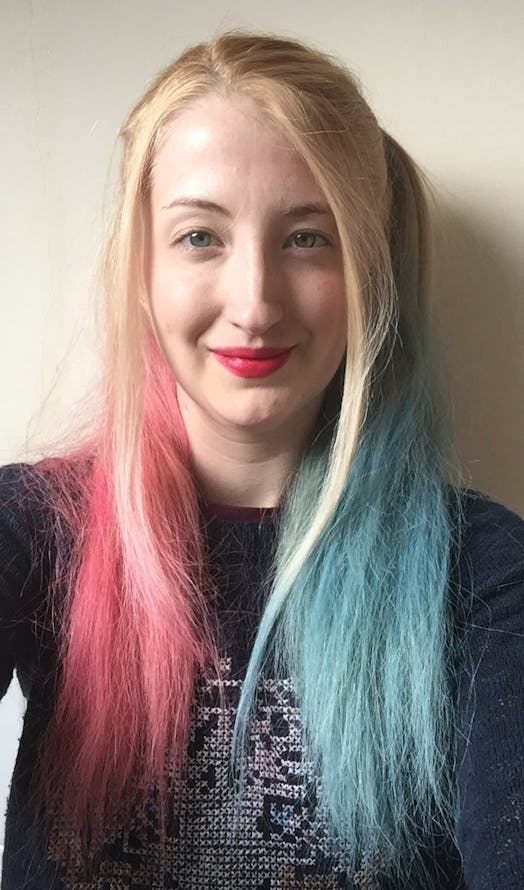
The world better watch out as you'll be ready to make some mayhem!
Images: Phoebe Waller; Giphy (2); YouTube/Warner Bros.Pictures
