Style
These Are The Easiest Nail Art Designs To Try At Home

Maybe you want to save a few bucks, or maybe you want to embrace your inner artist. Whatever the reason, easy nail art at home can be so much more than giving yourself a great manicure. It can serve as an act self-care — sitting down, polishes arrayed on a table like an artists' palette, tools in hand, the smell of red wine wafting to your nose from the glass beside you...doing your own nail art can be just as cathartic as those at-home facials.
Nail art, however, can feel intimidating — after all, not everyone is a pro manicurist. Bustle reached out to experts to hear a few at-home nail art ideas you can actually achieve. From marble-inspired looks to a cute "dotticure" that's much simpler than you may think, a salon-quality manicure is possible from home.
If you've been trying to do your nails at home and want to spice them up with some artwork, read on for some expert ideas and tips.
We only include products that have been independently selected by Bustle's editorial team. However, we may receive a portion of sales if you purchase a product through a link in this article.
Marble Nails
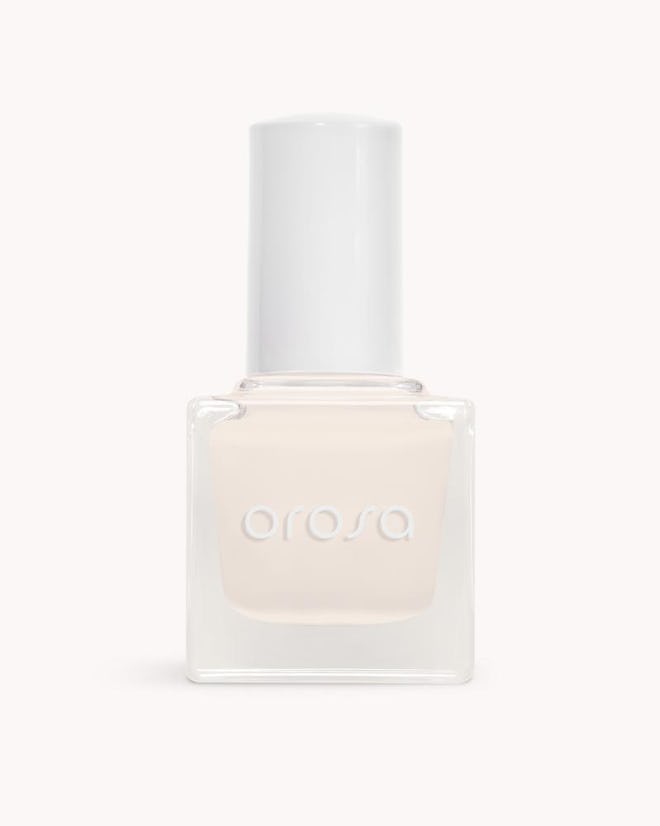
Nail artist Gabby Morris created the water marble nail design with Orosa. While marbling may sound complicated, the process is much simpler than you may think.
- Paint the nail with a white base coat, which will help whatever colors you choose pop.
- Fill a cup with water and choose two or three colors. One at a time, place a drop of each into the water until you form a bullseye pattern.
- Drag a toothpick through the color to create any marbling pattern you'd like.
- Drip your finger straight down into the water and use a cotton swab to collect the leftover color in the water that didn't attach to your nail. This will allow you to reuse the water for your next application.
- Pull your finger out, and you've got a marble design.
- Clean your finger with a cotton tip and polish remover, or use a liquid latex protector before dipping.
- Once your nail is dry, recreate the bullseye pattern in the water and repeat the dipping steps for each nail.
- Once the pattern has been recreated and done on each finger, let them all dry fully and paint over with a top coat to seal.
French Manicure
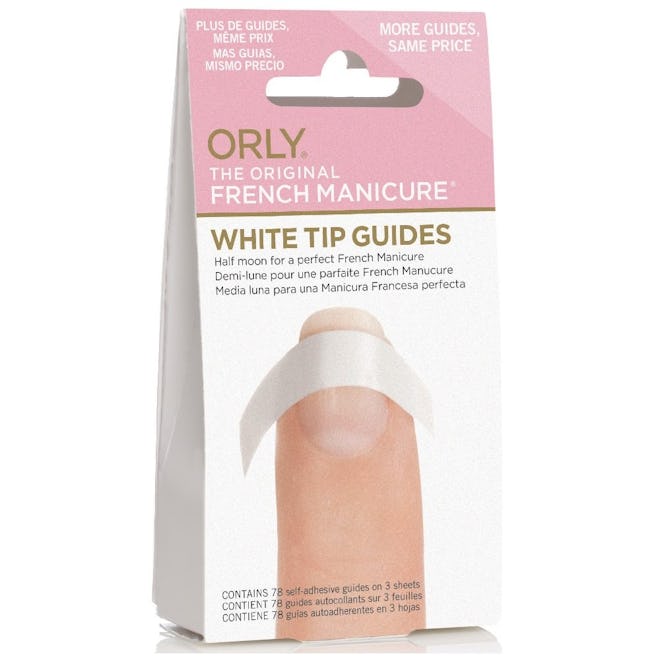
ORLY nail art consultant Brittney Boyce recommends giving a multicolor French manicure a try. She tells Bustle that it's simple to create using ORLY's Half Moon Guides, and your color choices are basically endless, although bright blues and metallic finishes are her personal faves.
- Clean your nail with polish remover and a paper towel so the paint has a clean surface to adhere.
- Apply your base coat, followed by your base color in a neutral shade, and allow the polish to dry for 3-5 minutes.
- Apply the ORLY Half Moon Guides by peeling them from the sticker sheet. Holding the guide above the nail, measure how thick you want the tip to be — Boyce says you can experiment with the thickness. Once you've determined the right placement, gently press the guide down on one side of the nail, and guide it evenly across the bed.
- Take your color (or colors) of choice, and paint the exposed nail tip.
- Let dry, and apply a top coat.
"Dotticure"
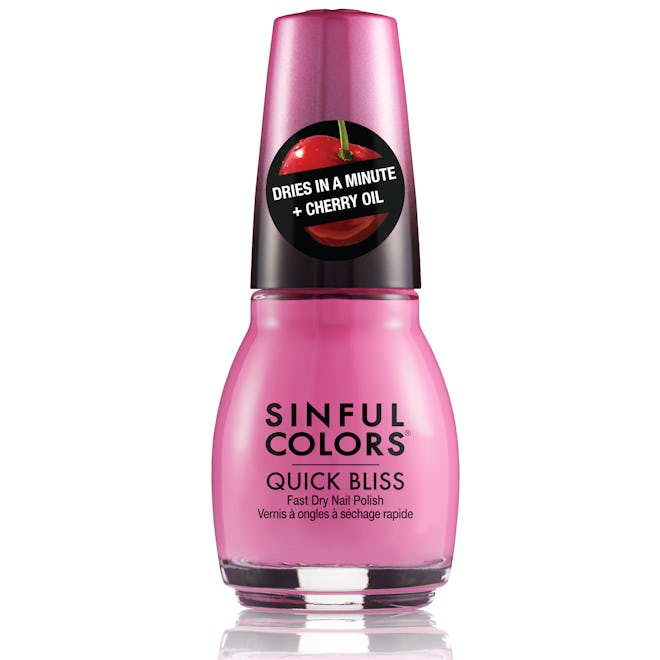
The "dotticure" is the brainchild of brand Sinful Colors and nail artist Amy Tran, and it's exactly what it sounds like — an adorable collection of polka dots all over your nail.
To get the look, Tran recommends the Sinful Colors Quick Bliss range, adding that a quick dry formula will help prevent smudging.
- Apply a base coat to prep the nail, and let dry.
- Take a small piece of tin foil, and drop dots in two or three colors in separate areas.
- Dip the edge of a bobby pin into each color so you pick up a bit of polish, and use it to dot your nail. Apply less pressure for smaller dots, use more for larger dots.
- Repeat this step with the different colors until your nails are as dotted as you'd like.
- Allow the dots to dry, and apply a top coat.
Graphic Lines
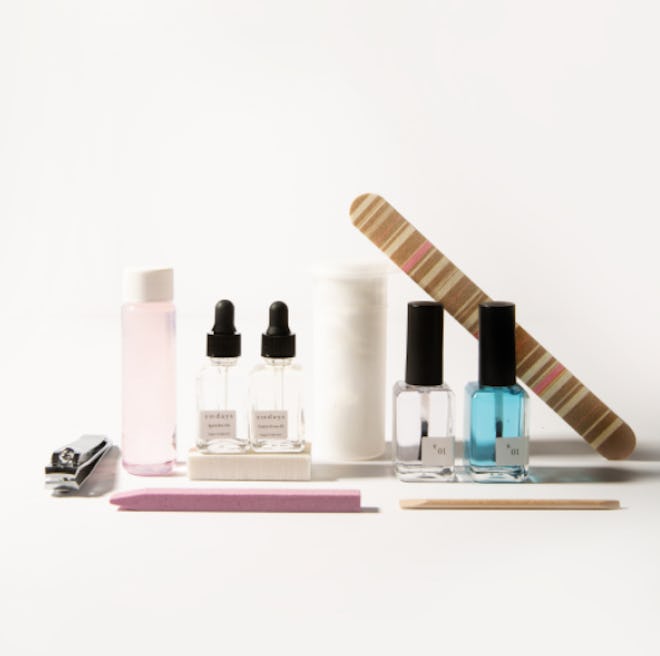
Amy Lin, owner of wellness nail care brand Sundays, loves color-block graphic lines and says it's great for someone who wants a more modern mani.
- Clean the nail bed with a paper towel and polish remover and apply a base coat.
- Choose three polish colors. Using one shade, paint your thumb and index finger; with a second shade, paint your middle, ring, and pinky fingers. Let dry, apply a second coat, and let dry again.
- Use a different color from each finger's base and choose an angle for each nail's color block design.
- To create a diagonal pattern across the nail, angle the brush to the side, positioning it to create a line with the brush's base, then paint upward to the top edge of the nail.
- To create a horizontal design, pick where you'd like the new color to begin, then paint toward the tip or down to the base of your nail bed.
- Repeat this pattern as you'd like on each nail. You can also create more blocking with a third color.
- Once the second and third colors have dried, use a wooden stick to clean the edges, and seal it all with a top coat.
Brushstroke Technique
ORLY's Boyce also loves a brushstroke technique: "This is the cutest, easiest nail art look," she says. "You can play around with different directions and placements on the nail. It's easy because you can do it on bare nails, and it's just one brush stroke. You don't have to worry about painting the full nail."
- Clean your nail with polish remover and a paper towel.
- Paint your nails with ORLY's Bonder starter, which helps grip polish to the nail.
- Apply a base coat (Boyce suggests a sheer neutral, because it allows your stroke colors to shine more vibrantly), and let dry completely.
- Chose two complementary colors — Boyce says she often uses a metallic as a personal preference.
- Using the first color, paint 1-2 strokes across the nail in any direction you'd like, and let dry.
- Repeat the same step with the other color. The result should look like an artist's brushstrokes across your nails.
- Apply your top coat, and you're done.
This article was originally published on
