Style
How I Made My Eyes Look Big AF Using Makeup

One aspect of makeup that has always intrigued me is its ability to create optical illusions. I have a strong, instinctual inclination towards big, wide, doll-like, cute-but-creepy eyes. Faking a bigger eye with makeup falls solely to careful application of the product — and luckily, it's also my forte.
I don’t think I’m alone in sometimes thinking I actually have no idea what I look like, sometimes. For example: My eyes. While I feel pretty confident to say that they are in the vague shade range of “blue,” otherwise, they feel pretyt unspecific. Sometimes I’m sure they’re round, other times I feel they’re more narrow. Some days, I find my lashes above average, others they are scraping to pass the class. And, perhaps most puzzling of all, I can never positively make any claims on size. Are they big eyes or small eyes? What’s the average eye size, and does my big head make my eyes look small? Most importantly, does it even matter? After all, all eyes are beautiful in their own way, right?
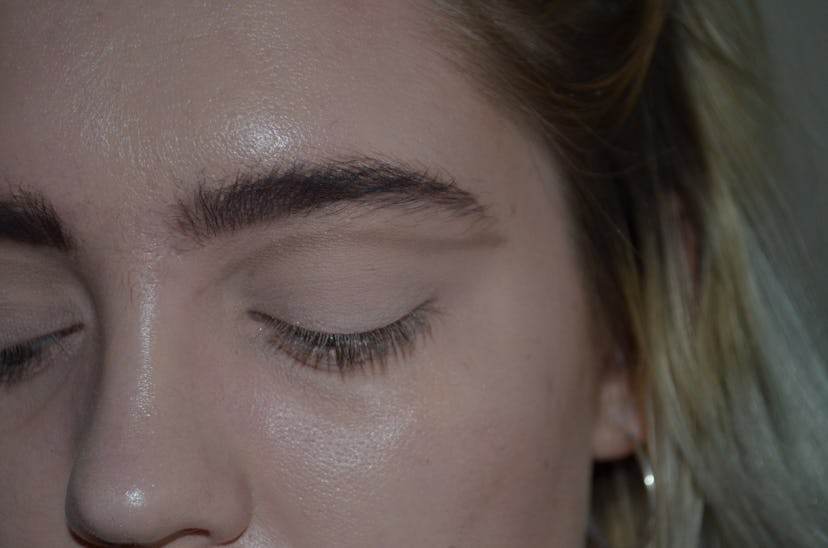
Regardless of one’s own natural eye size, though, sometimes it's just fun to play with how they look. Here’s how I use makeup trickery to make my eye-of-undeterminable-size look undeniably huge. Seriously, look at this:

Here's how I do it.
Prime

If you’re spending all this time painstakingly applying and blending, you’re going to want to make sure it lasts. The best way to do this is by priming. I used the MAC Paint Pot in Painterly. This is great because it has a soft, nude-ish pink tone and gives your eyelids uniformity of color while making shadows you put on top of it stand out more. They have a bunch of different shades appropriate for different skin tones, my only word of warning is to stick with a matte. I applied with a finger all over the lid almost to my brow, and added a small sliver under each eye.
Pro tip: You need to set your primer. I know this all seems kind of extra, but honestly, it helps. I set with the shade W.O.S. from the Urban Decay Naked Basics palette in its first of many appearances. Just try to pick a matte shade that is vaguely close to your skin tone. Setting your sticky base means that everything over the top will blend seamlessly, and not skip and get patchy.
Apply A Fake Crease
Using your angled brush and a light taupe shadow (mine was Naked 2 from the Naked Basics Palette), draw in a new crease a little bit above your natural eye crease. Wing it out a bit under your brow bone. Try to get your two eyes as even as possible, but don’t worry if the lines aren’t very neat right now.
Blend Your Fake Crease

Fairly self-explanatory: take a fluffy blending brush (the Wet ‘n’ Wild Crease Brush is surprisingly bomb for 99 cents) and diffuse your crease line by buffing out in tiny circular motions.
Deepen & Enhance Your Crease

Again using the angled brush and now a darker, mid-toned brown (I used Faint from, you’ve guessed it, the Naked Basics Palette) trace over the diffused taupe crease line.
Blend Again

I’m firmly of the belief that no eyeshadow look is ever bad, just under-blended.
Define Your Lash

Using a black-brown (I used the Naked Basics Palette shade called Crave) and your smaller angled brush, push the color right into the roots of your lashes. To avoid any jagged-looking edges, I pressed across the top of the black with my finger, which does a very minimal blend. I also winged the color out ever so slightly — not so much to create a wing, more to give the illusion of a wider eye-boundary. You can do a liner look here, but I think that takes away from all the other cool stuff going on around your eyeballs. Your call, though.
Create A New Waterline

Using the same mid-brown and angled brush you used to deepen the crease, draw a line the same shape as the bottom of our eye, but slightly further down. Wing it out a little, so it mirrors your new fake lash line.
At this stage, you might look into the mirror and say, “Really?” Persevere: It’ll all look fine in a minute.
Blend Your New Waterline

Using a fluffy brush (the one from before is probably clean enough) diffuse this under-eye line using circular buffing motions.
Fill In The Gaps

In the space between your natural bottom lash line and your newly created fake one, apply a generous amount of the same shade you used to set your primer.
Add Shine

Using a finger, take your shimmery, light colored eyeshadow. I used Venus from the Naked Basics, but for a more intense glitter finish I highly recommend the Urban Decay Moondust Eyeshadow in Space Cowboy. Pat over the center ball of your eye,on your brow bone and on your inner corners.
Add Liner & Mascara


Grab your best light colored eye pencil. My personal favorite is the Benefit Eye Bright because I find the light pinky tone to really stand out. Apply a generous amount to your waterline, and take it slightly lower down onto your under eye,concealing the roots of our lower lashes.

Next, add your favorite mascare. Mine is the Maybelline Full ‘n’ Soft Waterproof. Apply a whole bunch to your top lashes. If you’re a curling die-hard, go ahead, but I prefer the slightly sleepy, doe-eyed effect for this look.

On your lower lashes, only apply mascara to the tips. You want to create the illusion that your actual eyeball extends further down, and lashes should only start where the eye ends, see?
For a supremely over-the-top look, applying individual or clustered false lashes along your “new” lower lash line really takes the illusion to the next level. As it stands, the mascara trick was intense enough for me, but more power to you if you want to take it up a notch.
Enjoy Your New Look


Do lots of slow, doll-like blinks and side glances. Widen your eyes in a “who, me?” kind of way. Use your newfound powers of hypnotism for good and not evil.


While beauty may be in the eye of the beholder, eye size is in the hands of the makeup applier. Using any of these steps solo can enhance your ocular prowess in a subtle manner, but by combining all of them (and maybe even a few fake lashes) you can take your peepers to a whole new level.
