Beauty
Here's How To Give Yourself A Perfect At-Home Pedicure
Don’t skip the most important step.
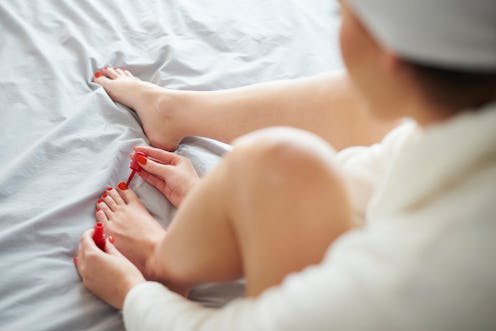
Whether you’re not in the mood to schlep to a salon or you just don’t have the time, that shouldn't stop you from doing your own nails in the comfort of your own home. Sure, you may not be a professional, but thankfully, the nail artists you depend on for perfect mani-pedis are providing guidance online now more than ever, thanks to social media. Bustle spoke with nail experts about how to give yourself an at-home pedicure, and while you may not get the relaxing massage you're used to, you can make sure they look good enough for sandal season.
At the very least, with an at-home pedi, you typically get to skip the oh-so-annoying removal of acrylic or gel polish. Still, giving yourself a DIY pedicure can be trickier than a manicure for a couple of reasons. Chelsea King, Los Angeles-based nail artist and celebrity manicurist, says, first, “It can be quite difficult to comfortably reach your feet and see what you’re doing up close, like you otherwise could with a manicure.” Also, you’re adding a few key extra steps to your process, namely callous treatment — which means more time and more tools. Basically, King says, “Our feet tend to need a bit more TLC than our hands.”
That said, like an at-home manicure or a DIY facial, giving yourself a pedi may be just the self-care you need. Before you jump in feet first, though, celebrity nail artist and founder of Nails of LA Brittney Boyce says don’t ignore nails that are discolored, yellow, and thick, or any painful ingrown nails. Both could be signs of a fungal infection that requires the help of a podiatrist, so skip the at-home pedi and make an appointment if that’s the case.
If all looks good and healthy on that front, then keep scrolling to learn how to give yourself the best at-home pedicure.
We at Bustle only include products that have been independently selected by our editors. We may receive a portion of sales if you purchase a product through a link in this article.
1. Remove Existing Polish
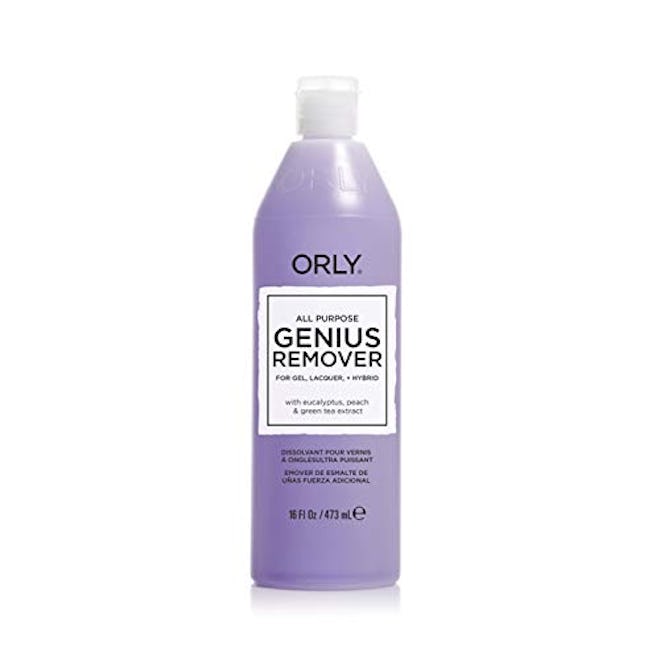
The first step in your at-home pedicure may be the most obvious: Remove any existing polish. Kelly Montesino, consulting nail artist with ORLY, recommends the brand's Genius Remover which helps to remove nearly all forms of polish — including gel and glitter.
2. Soak Your Feet
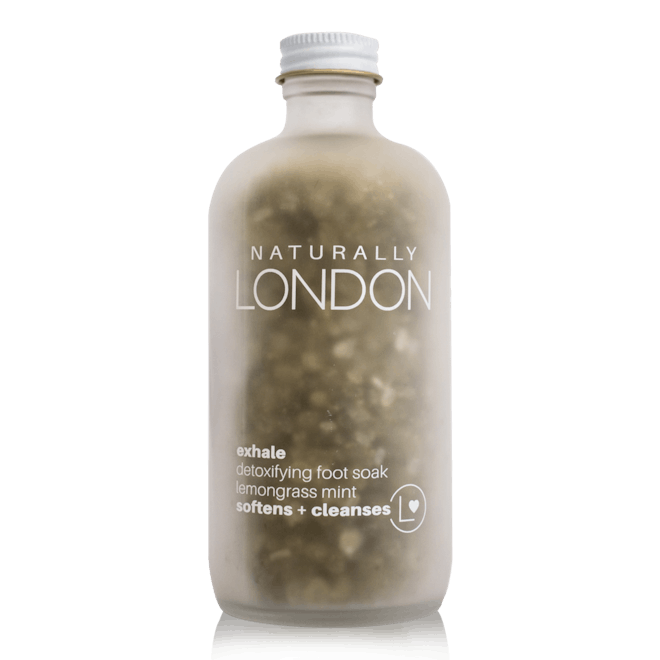
Wellness nail care brand Sundays founder Amy Lin recommends soaking your feet before beginning your pedicure. Even if you don't have a foot tub, you can use your typical bathtub or whatever you have on hand. She explains that you can use a sea salt soak for 5-10 minutes to help soften both the feet and cuticles.
Lin also recommends using this time for self-care. "You can also add a eucalyptus essential oil to your foot bath to help with minor itching or discomfort of the feet," she advises. Lin also recommends turning on some music or a guided meditation to make your self-care even more enjoyable. "You can also light some candles for a complete salon experience," she adds.
3. Use A Foot File
While not necessary for everyone, ZOYA's creative director Rebecca Isa recommends a foot scrub if your skin feels a little rough. She tells Bustle, "It's not necessarily required but if your feet need more love, I would recommend doing some sort of foot scrub to help even out any last few rough spots."
It's a sentiment that Sunday's Lin also echoes. After your feet are dry, Lin recommends using a foot file mixed with body scrub to remove any dead skin (if you don't have a foot file, you may use a nail file). However, make sure that you don’t over-file your callus on your feet, as this might make your skin rougher, warns Lin.
4. Buff & Shape Your Toenails
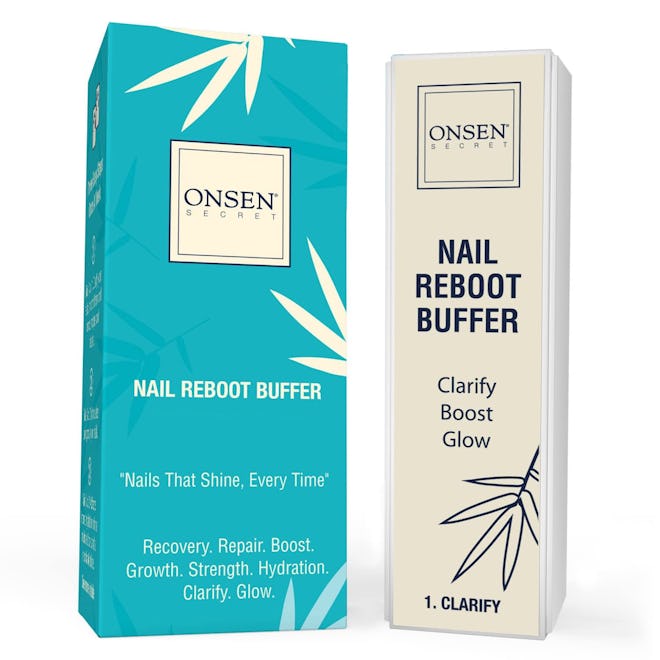
According to King, people tend to wear polish for longer periods of time on their toes than fingertips, which is why you sometimes see staining or dry nails. “I like to lightly buff the nail to clean that up” she suggests. And, as a pro tip: Boyce recommends filing your toenails straight across, “especially if you’re prone to ingrown nails.”
5. Care For Your Cuticles
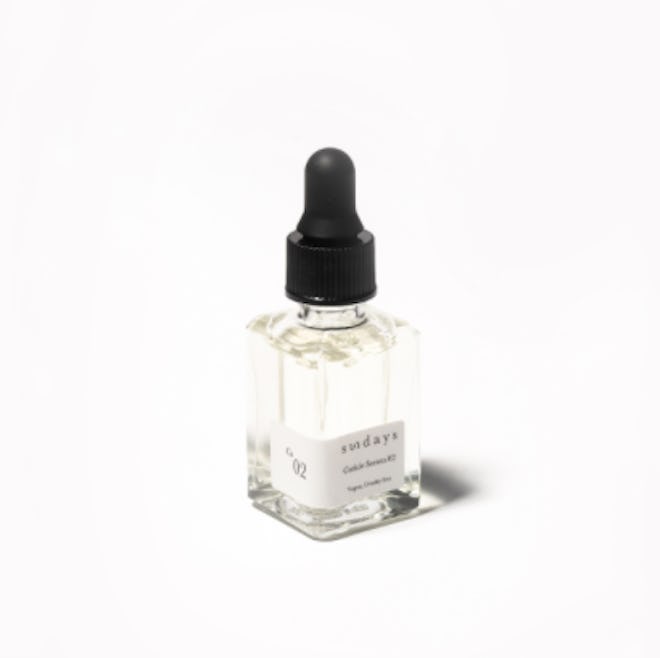
Lin recommends applying a cuticle serum and using a wooden stick to lightly push back your cuticles and remove any dead skin from that area. "It’s best to use a wooden stick as it is more gentle than metal ones," says Lin. Boyce adds, “If you have any protruding skin or hangnails, you can use a cuticle nipper to gently snip it.” But be careful not to go too deep. “You don’t want to nick it or cause it to bleed,” she says.
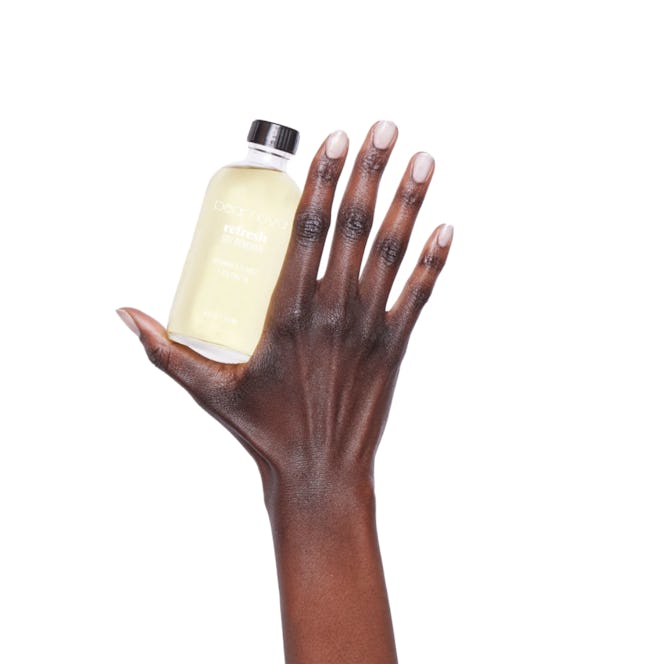
6. Moisturize
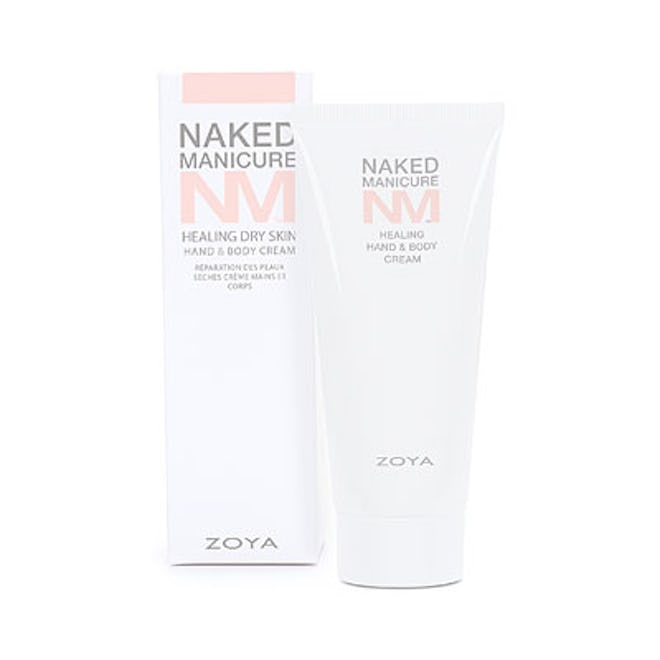
The experts all recommend moisturizing your feet and legs after your cuticle care. In fact, King calls this the most important step: Use one specifically formulated for your feet since they tend to be thicker and more nourishing. Keeping this area of your body hydrated will help prevent dryness and cracking (and more in shape for sandal season).
7. Clean The Nail Bed
Before you begin the process of painting your nails, Montesino explains that your nail bed needs to be clean and oil-free in order for polish to adhere as close as possible. "Use a lint-free wipe and either alcohol or nail polish remover to thoroughly cleanse the nail plate. You want to remove oil from the surface of the nail," she says.
8. Paint Your Nails
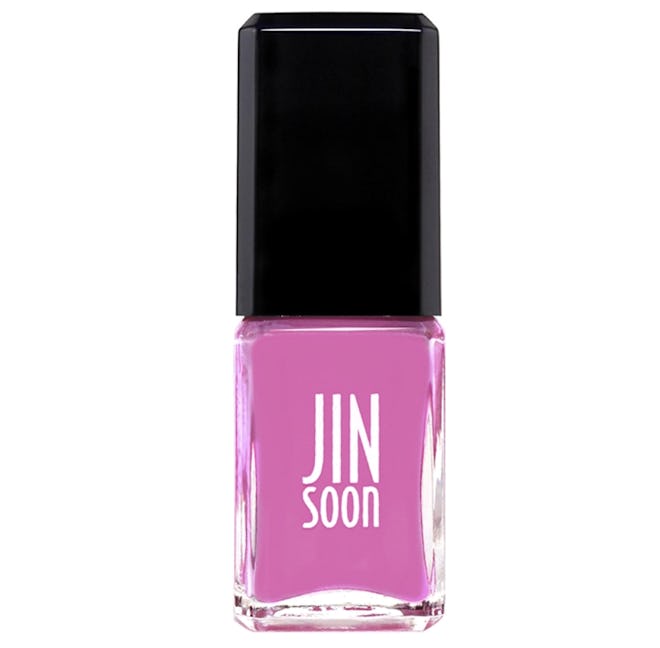
The most fun part of an at-home pedicure is grabbing your favorite color and painting your nails. But before you do, set yourself up for success. Use a toe separator or a paper napkin to separate your toes, just like they would at a salon, says Lin. And don’t forget the base coat, which will help keep your nails healthy. Montesino says the trick to the perfect paint job on your toes is to work in thin layers. “Apply your nail polish with minimum strokes,” she says.
9. Apply Top Coat
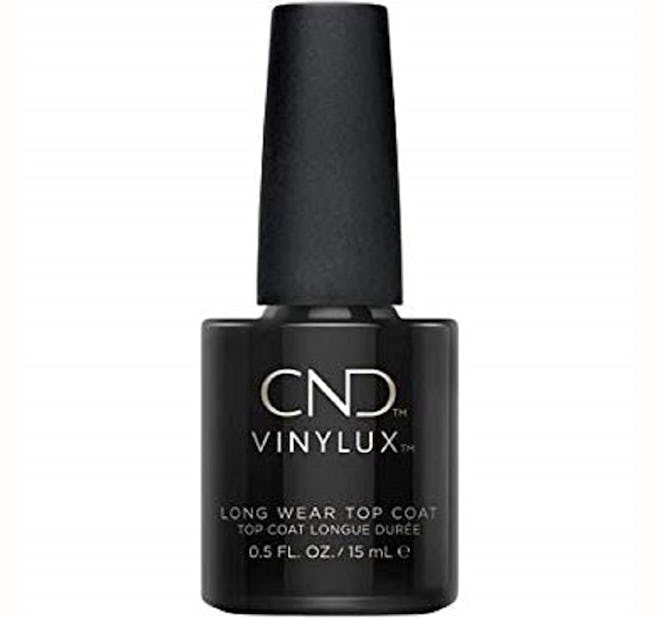
Top coats are super important for that finishing shine (or matte, if that’s your jam), and, of course, they help your pedi last longer, explains Lin. Once dry, King says consistently apply cuticle oil and moisturizer; both will help ensure that your hard work keeps paying off for as long as possible.
This article was originally published on
