Beauty
A Beginners' Guide To Heavenly Halo Braids
No matter what hair texture you’re blessed with.

A cool-girl trend of the recent past, the halo braid (also known as milkmaid braids) is primed to make a serious comeback this spring and summer — beyond just the fashionable crowds of outdoor music festivals, like Coachella or Bonnaroo.
Jennie Kim, of the girl group BLACKPINK, was recently spotted the flirtatiously playful updo at Chanel’s Fall/Winter 2022 show at Paris Fashion Week. Sweetly adorned with small black ribbons, the whimsical, windswept look seemed utterly regal and elegant, yet somehow youthful and fresh all the same. Braided, wrapped, and subtly mimicking a crown, the updo is surprisingly versatile — ranging from carefree and cottagecore-inspired, to beautifully chic and fit for the runway’s front row.
Takisha Sturdivant-Drew, Matrix ambassador and celebrity hairstylist to recent Oscar-winner Ariana DeBose and the multi-hyphenate Kerry Washington, is no stranger to the world of intricate braids and eye-catching updos. Known for her expertise working with naturally textured hair, she is also equipped with a deep knowledge of wigs and extensions.
Read through Sturdivant-Drew’s easy how-to for achieving the trendy style below — as well as some tips, tricks, and recommendations specifically for different hair textures.
How To Create A Halo Braid

1. Prep Your Strands
For those who have hair that is straight or wavy, or perhaps find that their strands are easily weighed down by product, the halo braid is perfect for day two (or even day three) hair. Nix any unwanted oils with your favorite dry shampoo (I love Bumble and bumble’s tried-and-true Prêt-à-Powder), and blow-dry your hair smooth to prep for a clean updo.
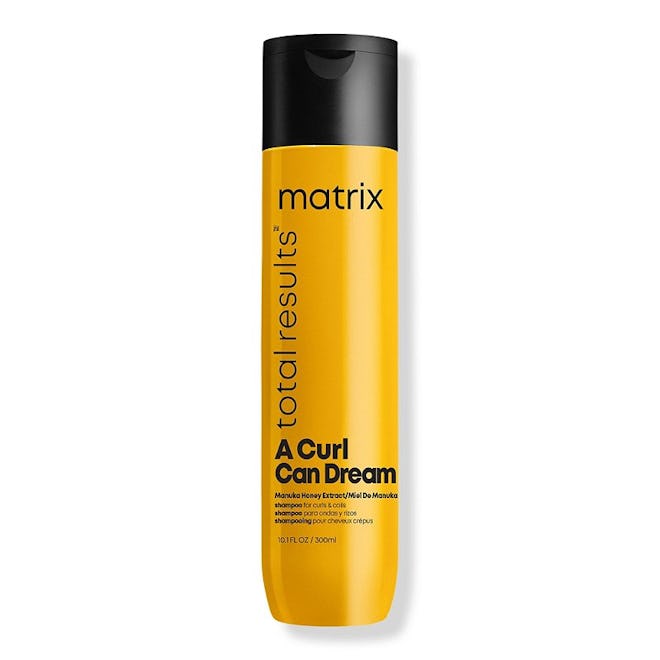
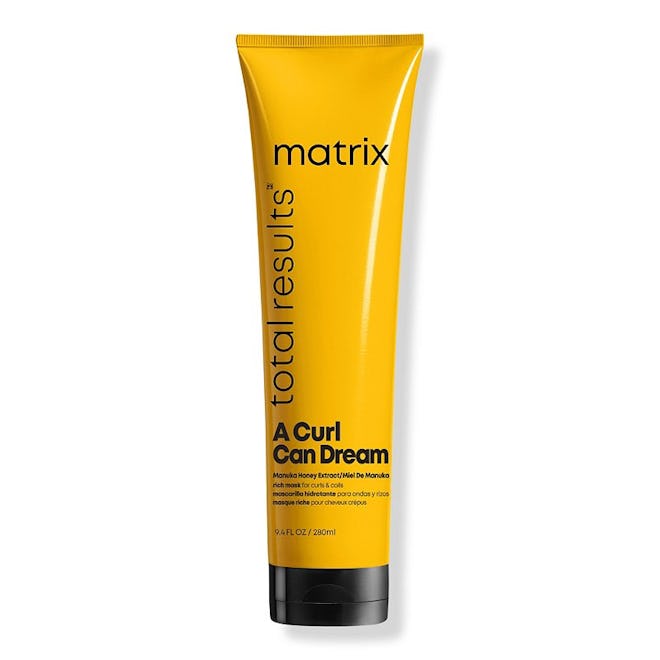
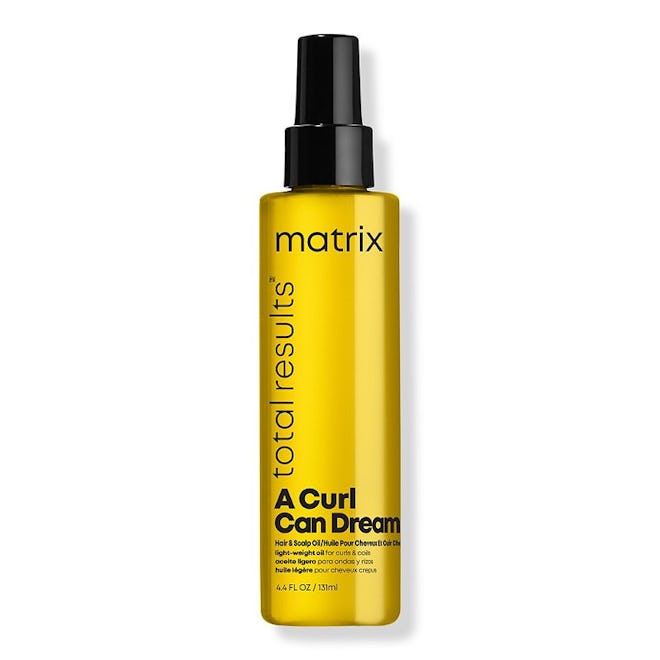
Sturdivant-Drew weighs in with insight for those with curly, coily, and textured hair: “When prepping for a halo braid, I wash the hair with Matrix’s A Curl Can Dream Shampoo to cleanse, then [condition with] A Curl Can Dream Rich Mask to provide deep hydration. I then blow-dry the hair until it’s smooth, and put a dime size of A Curl Can Dream Lightweight Oil. If you have textured hair that’s a great product to use — [though] I wouldn’t put the oil on straight hair.”
2. Create The Perfect Braid
Once your hair is prepped and ready to begin braiding, Sturdivant-Drew recommends to “section off the hair in front to let the pieces hang, [framing] the face.” For a bit of added texture, you can lightly curl or crimp those free-handing pieces, and give a light mist with some texturizing spray.
Sturdivant-Drew goes on to explain: “Part the hair [at] the nape [of the neck], then separate it into three sections and start to braid [your hair, before tying it off with a clear elastic band]. Then, [begin to wrap] the braid across the bottom and along to the front, tucking the [end of the] braid under in the back, using hairpins to secure.”
If you have thinner hair, she recommends adding volume with some hair extension pieces for a result that’s “natural and full.” If you don’t have any extensions on hand, feel free to fan out and amplify the braid before wrapping it into a halo, tugging at each piece for a fuller effect.
3. Set The Look
Once you’ve perfectly placed your halo braid — using as many hairpins throughout as it needs to feel secure — it’s time to set the look for long-wear.
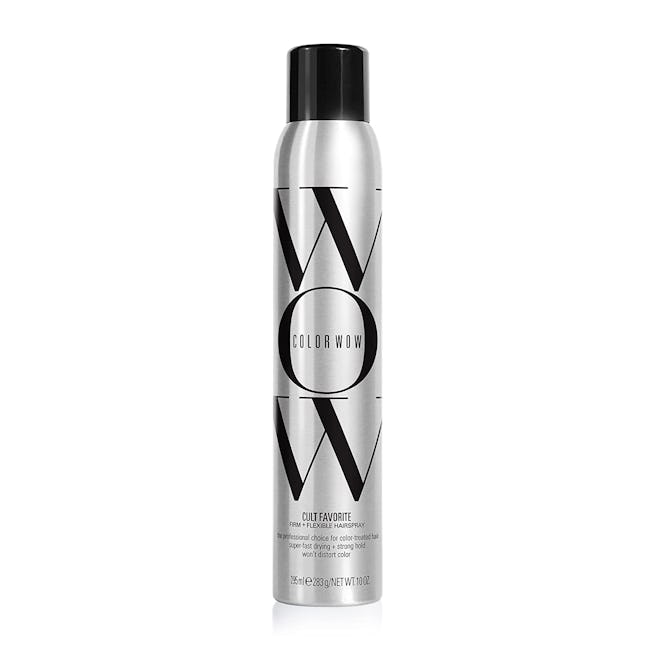
For a sleek finish, rub a dime-size of hair pomade into your hands, and pat through any unwanted flyaways before spraying all over with your favorite hairspray.
For a more tousled look, opt for a texturizing spray that creates that beachy vibe that pairs perfectly with sundresses and springtime picnics.
Below, find product recommendations you can use to achieve the perfect halo braid.
We at Bustle only include products that have been independently selected by our editors. We may receive a portion of sales if you purchase a product through a link in this article.