Beauty
Your 6-Step Guide To Applying Self-Tanner
Get that sunkissed glow without the skin damage.

Looking tan and sun-kissed is not as carefree of a process as the glowing aura exudes. One of your safest options is to use a self-tanner, which can be an intimidating product if you’ve never used it before. If you’re equipped with the right information, however, you can learn how to apply self-tanner successfully at home.
These days, there are countless different self-tanning products, application types, and innovative formulas to pick from for your bronze luminosity. Generally, they all use dihydroxyacetone (DHA) as the star active ingredient that naturally darkens your skin.
Of course, it’s a lot different to DIY your sunless tan than it is to get a spray tan at a salon. With professional treatments, you simply step into a futuristic shower stall-looking space where you’re evenly sprayed by a machine. At home, there’s definitely a strategy required — you’re dealing with the risk of streaks, hard-to-reach parts of your body, and a product that can be quite finicky.
No need to stress: Here, experts share the six steps to follow in order to apply self-tanner for a flawless glow.
We only include products that have been independently selected by Bustle's editorial team. However, we may receive a portion of sales if you purchase a product through a link in this article.
1. Exfoliate Your Skin
Before you even begin to think about the tanning product, you need to exfoliate somewhere between eight and 24 hours before you plan to self-tan. This ensures your skin is calm and ready for the application, explains Sophie Evans, St. Tropez’s celebrity self-tanner expert. “Exfoliation removes dead skin cells, old self-tanner, and other things like deodorant and make-up,” she tells Bustle.
You should also remove any unwanted hair before using self-tanner. “Otherwise, the self-tan application can settle into hair pores and create a spotty look,” says Evans. Whether you’re shaving, waxing, or sugaring, she recommends a 24-hour buffer period.
2. Moisturize
For the best self-tanning results, your skin should be supple and moisturized, says Jordan Cook, a tanning expert and St. Moriz ambassador. Otherwise, your tan is more likely to be spotty and even, she explains, and you’ll wind up with a tan that clings to the flakiness of dry skin (exfoliation will help prevent this as well).
That said, you want to moisturize at least two hours before your self-tanner application. “You don’t want the moisturizer to dilute the tanning product, so this [buffer] will prevent that from happening,” says Cook. For your best bet, Evans recommends using an oil-free body lotion to avoid creating a slippery canvas for your tan.
An important thing to note: your hands, feet, knees, and elbows are the exceptions to the two-hour rule. Instead, moisturize these areas right before self-tanning since they tend to be drier and can therefore look patchy or orange once the tanning product sets in.
3. Apply Your Facial Self-Tanner
The skin on your face is more sensitive and often a bit lighter than the skin on your body, so experts recommend using a separate self-tanner that’s specifically formulated for the area.
There are a slew of different facial self-tanners to choose from — including mists, drops, and lotions — but, ultimately, the choice comes down to your preference and tanning goals, says Cook.
If you’re using a self-tanning serum or drops, she says you can mix a few drops into your moisturizer at night every second or third day to wake up with a natural glow. Or you can go with a self-tanning mist, an easy-to-use formula that can be spritzed on as the tan builds throughout the day (or night). Each product will have its own specific instructions, but, generally speaking, Cook notes the more drops you use, the deeper your tan will be — which gives you more control over the final result.
Regardless of what type of facial tanner you choose, Evans recommends using your hands for gentle application. “Just remember to wash your hands afterwards,” she warns (this will prevent them from turning orange or blotchy). And keep baby or cleansing wipes nearby to clean the nails and cuticles before the tanning product has time to stain.
4. Apply Self-Tanner To Your Body
Onto the body. Before you begin, make sure you have your tools ready: Evans says this means your self-tanning applicator (usually a mitt or gloves), cleansing or baby wipes (for mistakes), a moisturizer, and the actual tanning product.
First up: “Make sure you have a tan applicator or mitt to protect your hands from staining and a self-tan [product],” says Evans. For your best application, she also advises keeping the applicator flat so that the tan is smooth and even. Then, always start at the bottom of the body and work your way up, using the mitt to blend the product across your legs.
Once you’re done applying the product liberally over your gams, use any excess tanner on the mitt to blend over the feet, says Evans. Then, she recommends working your way up along your torso, down your arms, and stopping at the wrists. Be sure to work in sections to ensure you’re covering every square inch of your skin. Just leave your hands and feet for your last step.
There are, of course, hard to reach areas like the backside of your body, for which you have a couple of options. The first is an application towel or device created specifically for this issue. These tend to be products with a larger surface area. Cook also recommends a DIY hack that involves using a long hair or body brush — slip your mitt around the bristled end and secure the bottom with a hairband. Pump product onto it and then slather it on.
5. Finish With Your Hands And Feet
Once you’ve tanned your face and body, it’s time to tackle your hands and feet, which are notoriously tricky. “A common mistake is developing the hands and feet too dark,” Evans says. The skin on these areas is different than on the rest of your body, she explains, so a self-tanner tends to develop much darker.
To prevent over-darkening, Evans says to dilute your self-tanner with a moisturizer. Then, take your blended product and apply it over the tops of the feet and the heels. Lastly: “Use the self-tanner diluted with moisturizer to fade down your hands from the wrist, blending in-between fingers and along the sides ensuring the wrist has also been covered,” Evans advises.
It’s important to use one of your wipes to clean your palms (so they don’t wind up orange). And, as your absolute final step in your self-tanning regimen, blend moisturizer from your hands to the creases of your wrists for a seamless finish.
6. Let It Set
Your self-tanning product should have specific instructions on how long to let it set, but experts recommend giving it at least an hour to soak in. Wait several minutes before you get dressed and, if you can, throw on loose clothing to avoid rubbing the tanner (and causing streaks).
For your first post-tan shower, experts recommend avoiding hot water (this can potentially mess with your bronzed finish) and rinse at a lukewarm temperature. For the first 24 hours after application, avoid any harsh soaps or exfoliants, aka enemies of a fresh tan. BTW: Once you’ve showered, the pros say you shouldn’t have to worry about the tanning product transferring to your clothing/couch/sheets/etc.
Another pro tip: The experts also advise moisturizing diligently in the days following to seal in your tan and help it last longer.
Shop Self-Tanning Products
A Subtle Face Glow Mist
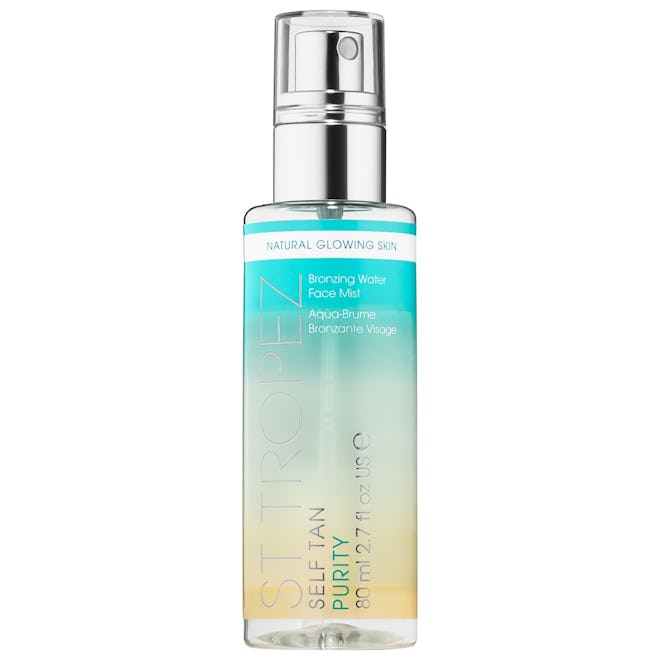
St. Tropez’s tanning mist is formulated with the gentle skin of your face in mind. It’s an easy intro-product to the category as it’s easy to use: Just shake the bottle, close your eyes, and spritz it over your face. Four to eight hours later, and bam — you’re left with a glowing complexion. For a longer-lasting bronze, use this for consecutive days.
A Body Serum Tanner
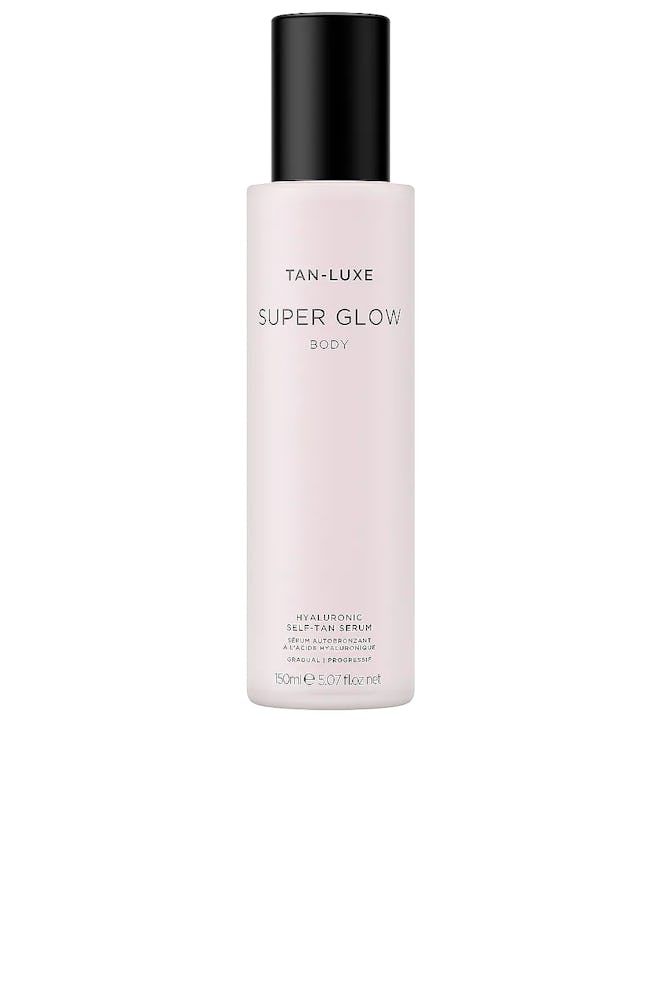
The growing proliferation of body serums has reached the world of the self-tanner. This formula is specifically made to give you a glowing, naturally darker complexion. It’s also buildable, so start slow and work your way up to just-got-back-from-Aruba-status.
A Radiance-Boosting Face Serum
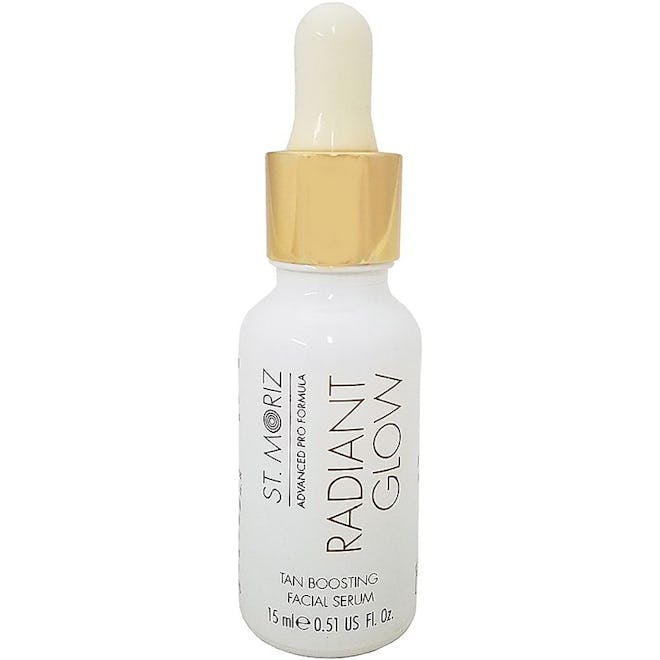
This is a slow-glow product. Apply it liberally in circular motions on your skin, either alone or mixed with your moisturizer. After it’s applied, your tan should steadily build throughout the day for a radiant, subtly sun-kissed complexion.
A No-Fuss Tanning Sleep Mask
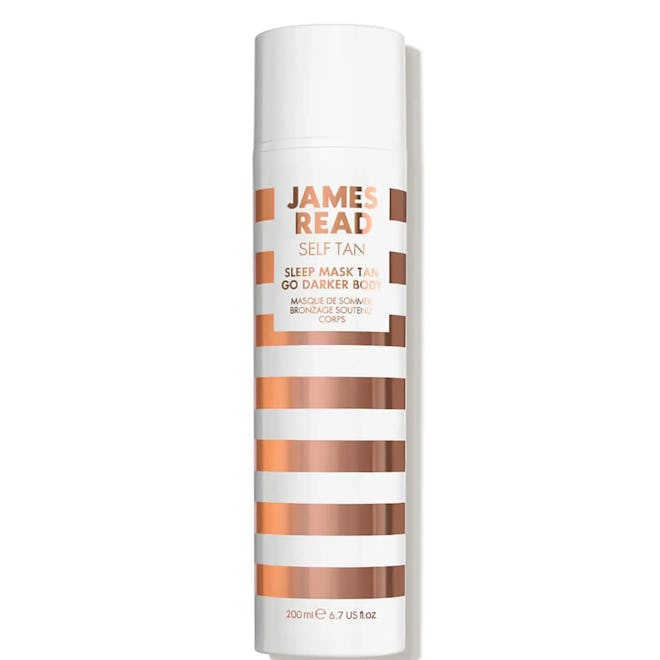
For a more low maintenance self-tanner, James Read has a line of overnight tanning masks that take the fuss out of the process. Simply apply before hitting the hay to literally wake up with a glowing complexion. The actual cream itself is a clear gel so you don’t have to worry about staining your sheets.
An Applicator For Hard-To-Reach Areas
Luna Bronze has created the perfect solution for your back and other hard to reach places. It’s longer and more towel-like than other mitts, so you can use it for any large surface areas on your body for a foolproof tan.
A Bronzing Body Mousse
This light-as-air mousse starts with an instant glow that ultimately gives way to a longer-lasting tan. It also doubles as skin care product thanks to hydrating ingredients like aloe vera, hyaluronic acid, and green tea extract. Even better? It comes with its own tanning mitts for application.
