Fashion
What You Need To Make Your Own Temporary Tats

I've always loved temporary tattoos.They add character and are ideal for wimps like me who are too afraid to get the real-deal. So when I realized I could make them at home after watching a YouTube tutorial by Hermione Chantal, I just about lost my mind. Back in the mid-90s, donning a butterfly on your shoulder during term time seemed like the most rebellious thing possible and if you didn't get a "cool" spray-on tat while on holiday, you were definitely the odd-kid out. Now, the love for temporary ink has seen a massive revival.
Cast your minds back to this time last year. Heaps of us were wearing metallic designs to festivals, not to mention dabbling in the Coachella-esque idea of making tattoos from dried flowers. Personally, I like creating my own designs. They channel a hint of distinctiveness and express heaps more individuality than the typical shop bought motifs of dream catchers and infinity signs.
Best of all, they’re incredibly simple to make. Thankfully, you don’t need to be an artist to create them. Unlike some methods online that use tracing paper and crayons, with this tutorial all you need is specialized paper and a computer. Easy right? Here’s how you can jump on the trend for the summer season and create custom temporary tattoos no one else will be wearing.
What You'll Need
To create your very own temporary tattoos, you'll need the following:
- Temporary Tattoo Paper
- Computer
- Printer
1. Find Your Designs
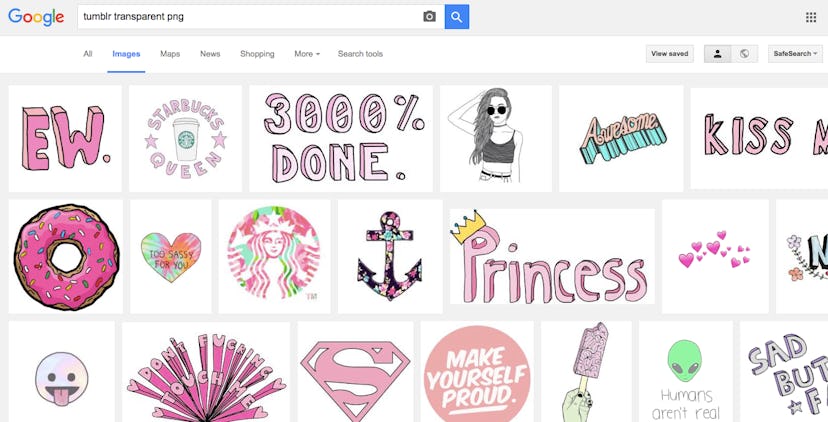
Start by finding your temporary tattoo design, online. This step is the most crucial and if you’re indecisive, like me, can be incredibly time consuming.
For the designs above, I goggled tumblr transparent png. There are heaps of quickly slogans and symbols on offer that all have transparent backgrounds. This isn't the only type of image you can use, but keep in mind that any design with a background (including a white background) will have to be cut out once it's printed.
2. Lay Out Your Designs

Now you’ve found the designs you want to use, lay them out in a word document. To get the most out of your money, I suggest filling the page up with a variety of different tattoos. That way you won’t be wasting the paper you're going to use to print them out on.
3. Flip Text
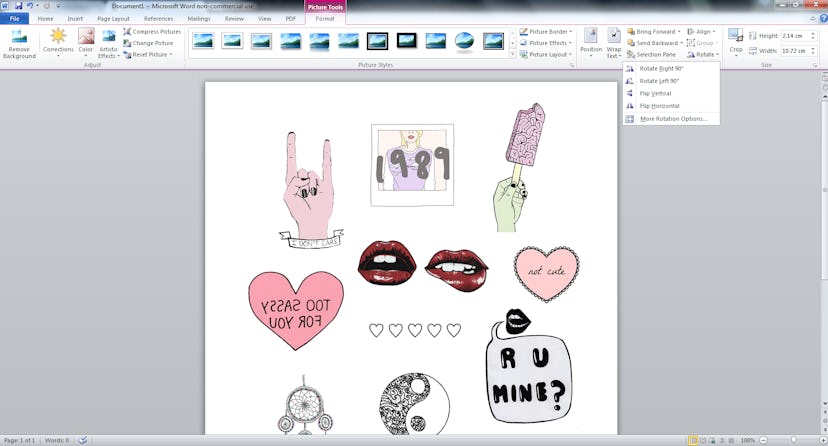
If any of the designs you’re using have text incorporated in them, you need to flip the image. This can easily be done on Microsoft Word. Just click, "picture format," followed by "rotate" and "flip horizontal."
4. Trim The Paper
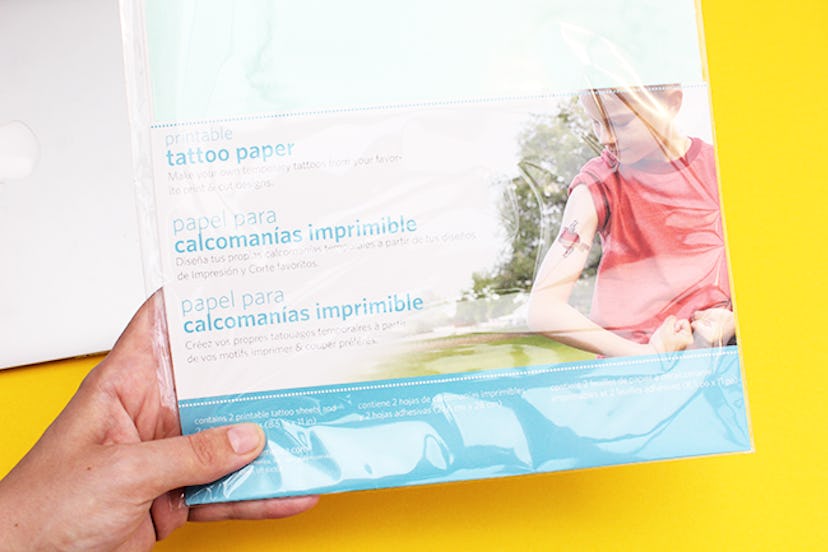
Your designs are ready, so it’s time to prepare the material you’ll be printing them on. For this, you’ll need to purchase temporary tattoo paper. A variety of craft brands sell it, but the easiest and cheapest buy I found was Silhouette’s Temporary Tattoo Paper from Amazon.
Once you have the paper, remove a sheet from the packet and measure it up against your printer. As the sheet I was using was slightly larger than A4, I trimmed the edge so it would fit in the loading tray.
5. Load The Paper
Next, load the paper into your printer. If you’re using Silhouette’s paper, it’s important that you print on the shiny side.
I’d suggest taking a look at your printer’s instructions before doing this, as some models will turn the paper when it’s printing depending on where the loading trade is located.
6. Apply The Protective Cover
After your designs have printed, it’s important you add a protective cover to them. This is included in the pack and ensures that the designs don’t get damaged. It also means you don't have to apply them straight away and can store them for any special summer events you have coming up.
7. Cut Out Your Tattoos
Now, cut out the individual tattoos on the sheet. You don’t have to make this precise. If you’re using images with transparent backgrounds the borders won't show on your skin, so feel free to leave space around them.
8. Remove The Cover
When you’re ready to apply the tattoo, remove the protective cover.
9. Stick The Tattoo Down
Just like you would a standard temporary tattoo, place the design face down on the piece of skin you want it applied to. If it’s a tat that includes text, make sure you double check it’s facing the right way up.
10. Wet The Tattoo
Then use a damp towel or clean wash cloth to add water to the tattoo. You don’t need to saturate the paper, just make sure it’s wet enough that it will transfer to your skin.
11. Remove The Paper
Finally, remove the paper. It should easily slide off. If you’re finding it hard to remove, simply add more water.
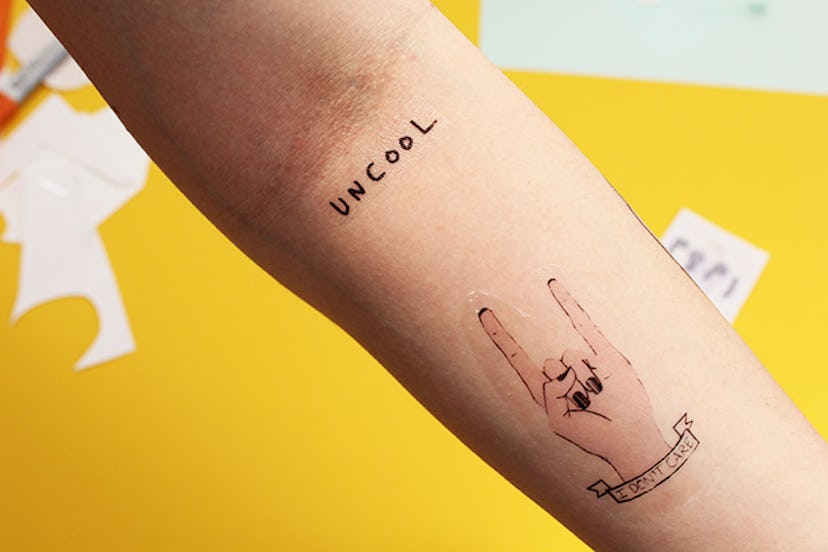
Finished Results
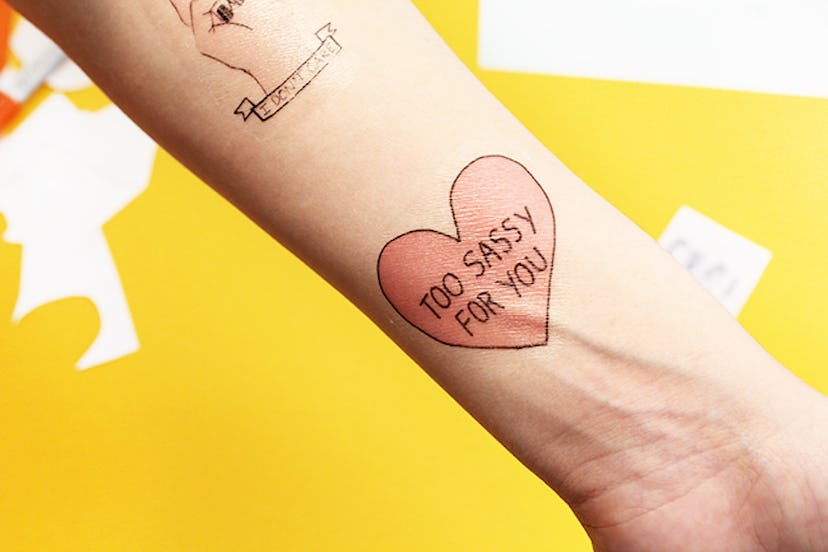
And there we have it: You now have a temporary tattoo that no one else does. Typically, the tattoos will last four to five days, if you’re cautious when washing and avoid scrubbing them.
Alongside being heaps of fun, I think temporary ink is great if you're debating about getting a tattoo but want to know what it will look like. Without trying to sound like your Mom, tattoos are a lifelong commitment. So using Silhouette's paper gives you an idea of positioning and how it will wrap around a certain part of your body, before you get it done.
Even if tattoo's aren't your thing, it's also a great DIY if you want to add some quirkiness to your festival gear this month. Go and watch your favorite bands with their logo on your arm or play around with different neon slogans that will give your outfits a boost of color.
Get creative. What are you waiting for?
Images: Emma Matthews
