Style
How To Add A Brush Cleaner To Your Makeup Palette
Plenty of innovative beauty products have already hit the market this year. There are makeup sponges that resemble bra-inserts, color-changing nail polish and my personal favorite, eyeshadow palettes that feature built-in brush cleaners.
In fact, the idea is so good it got me thinking about whether there was a way I could add a built-in brush cleaner to my existing palettes. It would be incredibly handy when travelling, as I wouldn't have to take multiple eyeshadow brushes with me. Not to mention, it would also cut down the time I spend in front of the mirror attempting (and often failing) at an intricate smokey eye. Vera Mona Color were one of the first beauty brands to release a built-in brush cleaner. So, I used their Lotus Palette as inspiration for creating my very own DIY.
In the palette, the brand have attached a small strip of material that you can sweep your brush against to clean off any eyeshadow pigment. Taking note of last year's popular hair donut cleaning hack, I used the fabric of the hair tool to replicate this strip. It's incredibly easy to do, takes mere minutes and, best of all, works just as well as the real deal.
Fancy trying it out yourself? Here's what you need to do.
What You'll Need
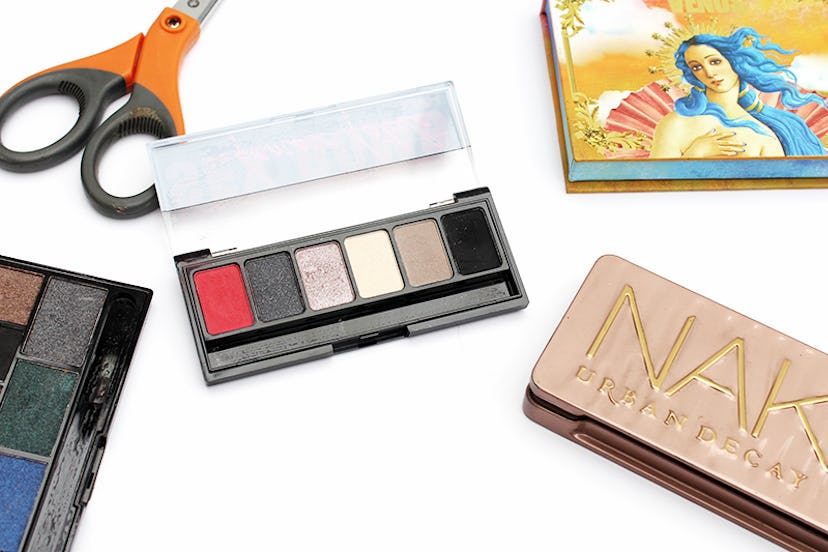
To add a built-in brush cleaner to your eyeshadow palette, you'll need the following:
- Eyeshadow Palette
- Hair Donut
- Glue Gun
- Scissors
1. Clean The Eyeshadow Palette
Start by cleaning the eyeshadow palette with makeup wipes. Ensure that there's no loose pigment on the packaging, paying special attention to the area you plan on sticking the built-in brush cleaner too.
I rarely use the brush-storing section in my palettes, so decided to attach the cleaner there. But, if you do use it, or if your palette doesn't have one, you can mark out a small section on the front or back of the casing.
2. Cut Small Insert Into Hair Donut
Next, cut a small insert into the hair donut. You want to make sure that it's roughly the same size as your fingers, as the next step involves pulling apart the fabric and slowly unravelling it.
4. Unravel The Netting
Now you have the insert, begin to unravel the donut. The aim here is to break apart the layers until the material comes loose. As you do this, the hair tool should slowly lose it's shape.
5. Continue The Process
Repeat the insert/unravel process until the donut begins to resemble something like the GIF above.
6. Measure And Cut
Now you have the material, measure it against your eyeshadow palette. If you're adding a built-in cleaner to the brush-section of the palette, cut a long strip. Alternatively if you're using the front or back of the packaging, cut out a square or rectangle.
7. Glue The Area
Now, apply a small layer of glue to the area you plan on adding the cleaner too. Personally, I recommend using a glue gun for this, as it dries instantly and the glue is a lot stronger than standard craft-store buys.
8. Apply Material
Once you've applied the glue, let it sit for a moment until it's tacky. Now, apply the fabric and slowly push it in place with your fingers.
9. Let It Dry
After you've glued in the material, wait a few seconds until the palette is completely dry. If you're using a shallow eyeshadow palette, this is also a good stage to test whether you can open and close it.
10. Try It Out
And there we have it, your palette now features a built-in brush cleaner. It's now time to try it out. After adding a cleaner to some of my smaller palettes, I decided to create one for my Urban Decay Naked 3 Palette. I usually take it with me when I'm travelling, as there are so many different options and many of the shades are multi-purpose and can be used on my eyebrows or as a highlighter.
To test how well the built-in cleaner works, I decided to swatch one of the darkest shades in the palette. It's one that I often use to create a smokey eye.
Typically, if I wanted to build on this and add a lighter color to my eyes, I'd have to use a different brush. But thanks to my new brush cleaner, all it takes is a few sweeps across the strip of fabric and, voila, the same brush is now completely clean and I can use it to apply a new eyeshadow shade.
Overall, I'm incredibly happy with how the DIY built-in brush cleaner turned out. It works great and I'm definitely planning to add more to the rest of my makeup collection.
The idea of a built-in cleaner is so simple, yet incredibly useful. It's something I'd love to see from more beauty brands in the future. Fingers crossed, it'll happen very, very soon.
Images: Emma Matthews
