Shopping
What Should You Put On Your Nails After Removing Acrylics?
Calling all brittle digits.
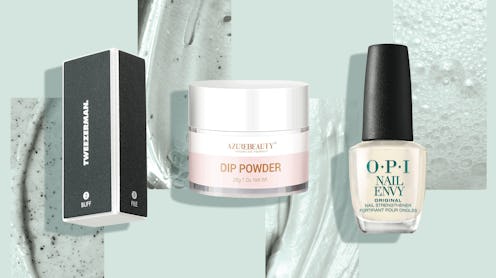
Acrylic nails are undoubtedly fun (and a great way to add length if you struggle with growing your nails), but the biggest caveat to sporting an acrylic manicure is that it makes your natural nails thin and brittle, which can lead to dryness and breakage. After acrylic nail removal, the best way to care for your natural nails is to file and buff them to reduce breakage; apply conditioning cuticle oils and serums to strengthen the nail’s base; wear a nail strengthener; and use a nail repairer on broken nails or hangnails. To find out exactly what to put on your nails after removing acrylics, Bustle spoke with four experts, who share their best tips ahead.
The Experts
Amy Ling is the founder of Sundays Studio, a non-toxic nail studio in New York City.
Rita Remark is Essie's Global Lead Educator and Nail Artist, as well as an editorial manicurist and nail artist based in New York.
Karirenize Guerrero is Dermelect’s Nail Ambassador and an editorial nail artist based in New Jersey and NYC.
Syreeta Aaron is a nail technician and acrylic specialist in Montgomery, AL.
How To Care For Your Nails After Removing Acrylics
Immediately after removing your acrylics, Remark recommends giving your nails time to restore themselves naturally. “A good thing to remember about acrylic removal is that your natural nails will feel slightly softer for 24 hours after removal,” Remark says. “This doesn’t mean that they’re damaged. Water passes through the nail slower when they’re covered, so give your nails a moment to return to their natural structure.”
After giving your nails time, Guerrero says that filing them is a great way to minimize breakage. As for which process you should employ, “I recommend filing natural nails in one direction instead of the ‘back and forth’ motion, which is a common mistake,” Guerrero explains. “Begin at the corners of the nail and gently file to the center using a glass file. This technique will reduce damage and avoid a rough free edge which can lead to chipping.” Aaron also notes that buffing is critical for post-acrylic nail care and says, “Use a three-way nail buffer to bring back out the natural oils within the nail bed.”
Once you’ve filed your nails, all of the nail technicians recommend sticking to a regular nail strengthening routine using things like cuticle oils and serums, nail hardeners, and nail repairers. “There is no ‘set it and forget it’ treatment for nails — be diligent with cuticle oil, refresh your nail strengthener weekly and, if you’d like to apply nail color, always use a strengthening or moisturizing base coat,” says Remark. Last, Ling recommends using products that contain keratin or amino acids — you should also be on the lookout for ingredients like proteins, jojoba oil, apricot oil, argan oil, and vitamin E to restore your nails back to health.
1. First, Use A Glass Nail File
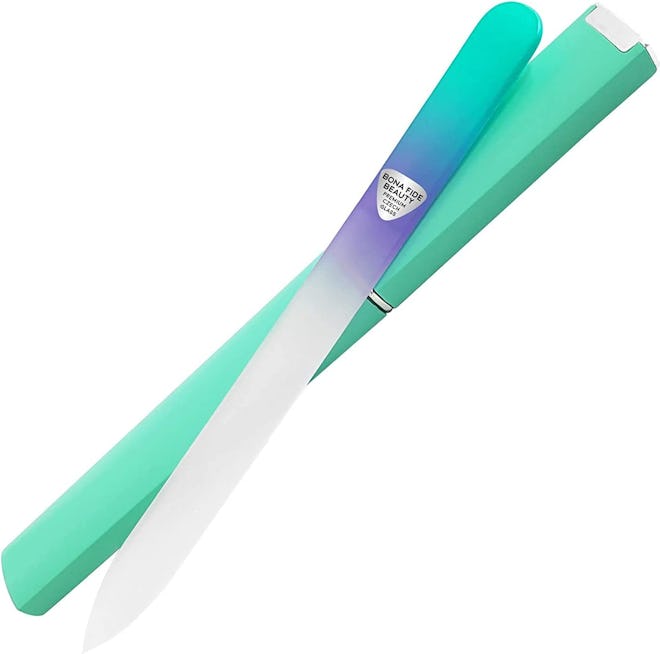
Both Aaron and Guerrero recommend glass nail files since they have far less grit than traditional nail files, making them gentle enough for use on brittle nails. It’s best to file your nails weekly to ensure that your nails retain their thickness and strength from the base to the tip. The Bona Fide Beauty glass nail file is made from Czech Bohemian glass that’s been tempered to ensure it remains durable throughout the years, and it comes with a travel-friendly case (goodbye, residual nail dust scattered throughout your cosmetic pouch).
2. Then, Buff Your Nails With A 3-Way Buffer
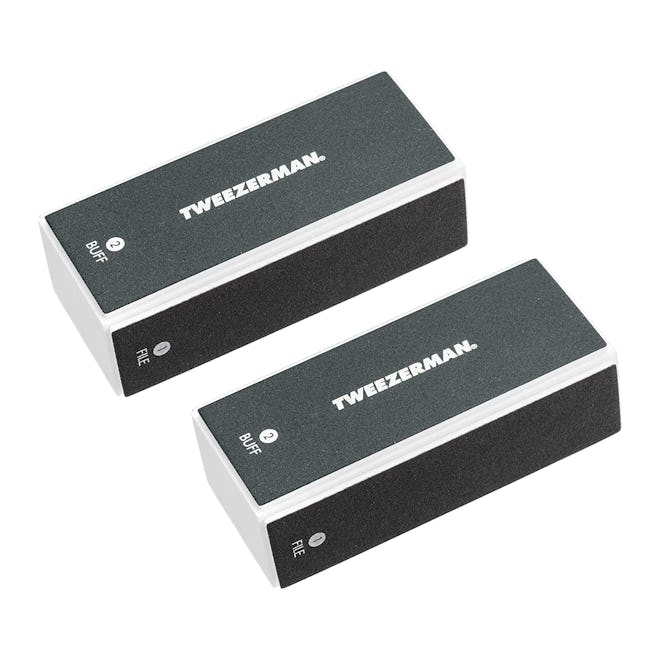
After filing your nails, Aaron recommends using a three-way buffer to gently slough off flakes and allow for hydration and nutrients to flow evenly throughout your nail bed. Utilize the same one-direction approach you would use to file the nail, and buff the top of your nail bed with this buffer, along with the nail’s free edge. The Tweezerman Black Nail Buff is a four-way buffer with labeled steps for filing, buffing, smoothing, and adding shine to your nails. While your nails are still brittle from post-acrylic removal, you’ll want to utilize the buff, smooth, and shine sides to smooth out your nails. After your nails have grown out and regained their strength, you can use the file side for weekly upkeep, though it’s better to use a gentle glass nail file for filing if you can.
3. Mend Broken Ends With A Nail Repair Kit
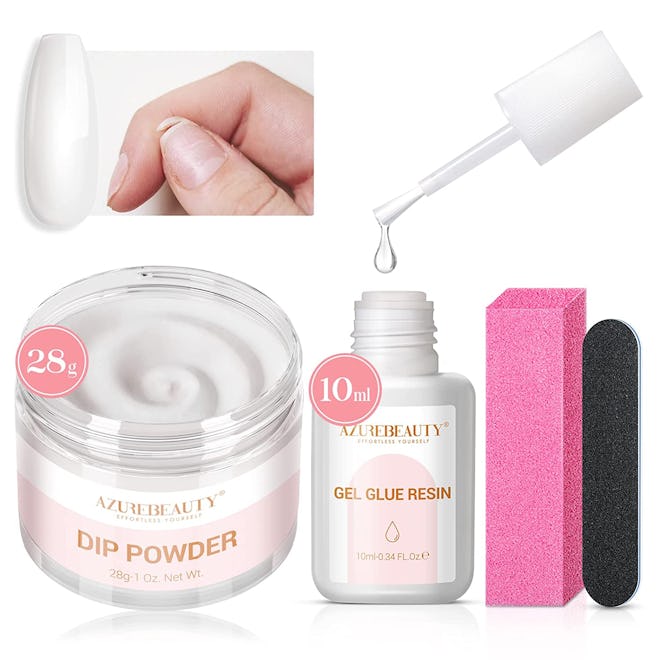
If, after removing your acrylics, you notice that you have a hangnail or a broken tip that you don’t want to cut off, Aaron recommends using a nail repair kit like this one. It comes with a gel glue resin and a dip powder that ‘glues’ the broken pieces back together, plus a buffer and a nail file to ensure that the dip powder-covered breakage blends into the rest of your natural nail.
4. Use A Nail Strengthener Weekly

All of the pros believe that nail hardeners are essential for restoring strength and shape back to post-acrylic nails, and this one by OPI is one of the industry’s top performers. The OPI Nail Envy Nail Strengthener creates a strengthening coat on bare nails to help fight typical post-acrylic woes like splitting, cracking, and breakage. As per the experts’ recommendations, you’ll want to reapply this weekly to ensure maximum efficacy from your nail hardener. This formula also contains hydrolyzed wheat proteins to repair frayed nails and has a translucent color, making it great for wearing on its own or layering under a traditional nail polish.
5. Apply A Base Coat Specifically Made For Post-Acrylic Nails

If you still want to wear nail polish after removing your acrylics, use a base coat that will fortify your nail beds against breakage and splitting. The Sundays Base Coat B.03 is enriched with both keratin and amino acids, which Ling says are vital for adding strength back to damaged nails. In Ling’s words, this formula is “specifically created for gel removal and removal of other artificial nail products to nurture the nails with much-needed minerals.” Along with the aforementioned nutrients, this base coat also contains vitamin E and argan oil to assist in healthy nail growth.
6. Use A Cuticle Oil Daily
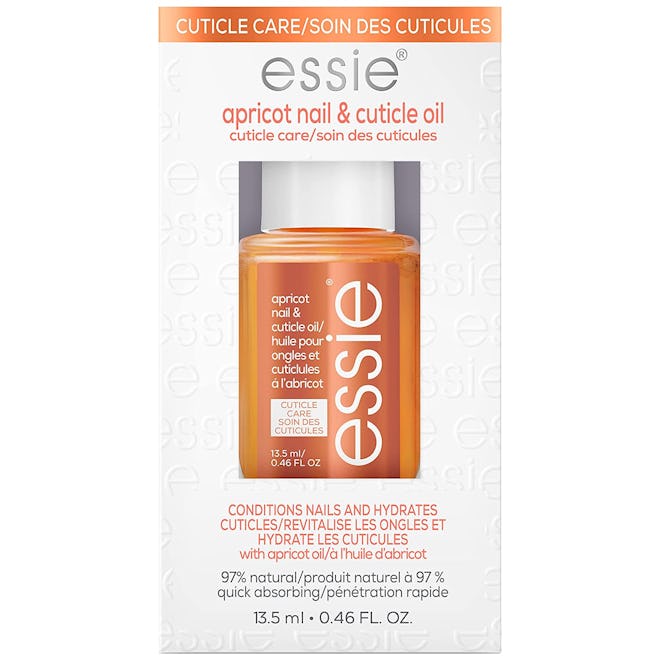
A healthy nail is only as healthy as its base, which, in this case, is the cuticle from which it grows. Whether you’re painting your nails or not, all professionals urge anyone with post-acrylic nails to use cuticle oil daily to assist with healthy growth. Essie’s Apricot Nail & Cuticle Oil includes both apricot kernel oil and jojoba oil, which Remark says “mimic the skin's natural sebum and are easily absorbed.” With over 10,000 five-star ratings on Amazon, this cuticle oil is loved by consumers and professionals alike for its nourishing benefits.
7. …Or A Conditioning Cuticle Serum
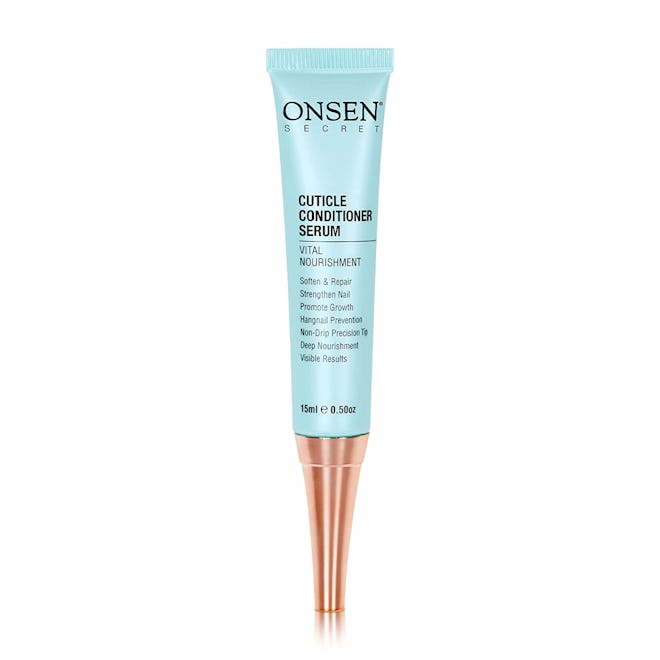
Perhaps you are of the population that doesn’t like the feel of oil on your hands — in that case, reach for a cuticle serum instead. The ONSEN Cuticle Conditioner Serum has a creamy texture more similar to a lightweight hand cream than to a greasy oil, making it ideal for daily wear for a person working with their hands. It contains vitamin E, a staple ingredient for growing stronger and longer nails, as well as nourishing shea butter and hydrating aloe.
Experts:
Amy Ling is the founder of Sundays Studio, a non-toxic nail studio based in NYC.
Rita Remark is Essie's Global Lead Educator and Nail Artist, as well as an editorial manicurist and nail artist based in New York.
Karirenize Guerrero is Dermelect’s Nail Ambassador and an editorial nail artist based in New Jersey and NYC.
Syreeta Aaron is a nail technician and acrylic specialist in Montgomery, AL.
