Life
How To Tie Dye Clothes With Things You Already Have In The House
Including bleach, food colouring, and even onion skins.
As the days and weeks in lockdown continue, it seems our collective curiosity for arts and crafts is growing. Bored in the house? Then let's create something — anything! — be it painting a masterpiece, baking a cake, or hemming your jeans. And this may be one of the most niche of all craft creations: tie dying. Listen, I don't care if no one will see new my multi-coloured clothing, I'm stuck indoors, and I have a pile full of white t-shirts that need an update. And apparently, there's a whole host of people on the internet who've figured out how to tie dye with things around your house.
Now, you're probably thinking "this is going to cause a mess, isn't it?" Simply put, a mess is very likely. Also, there's the issue of finding dye. But don't worry, I've found an alternative method using household items that'll have you sporting your new hoodie, t-shirt, socks, dress, hat or erm... underwear around the house in no time.
First off, do I need any tools?
First and foremost, you're going to need gloves, whether it's plastic gloves or your classic marigolds. Everything else is subject to what you can get your hands on.
Otherwise, you'll need:
- A few squeezy bottles (you can use old squeezy ketchup bottles or washing up liquid bottles. But if you can get your hands on an actual squeezy bottle, even better — they can sometimes be found in supermarket baking sections.)
- Some rubber bands (you'll need a few).
- A bucket.
- Some bin-bags to protect your surfaces from a potential red dye disaster.
- A ziplock bag.
- Some white clothes to decorate. Do note, that dark colours work best with the bleach method. Oh, and remember, you should probably be wearing old clothes when attempting this. You can't reverse a tie-dye mishap, I'm afraid.
Step 1: Soak Your Item In White Vinegar & Water
Admittedly, starting a creative process with doing laundry is not particularly fun, however, prepping your clothes before you tie-dye is an important part of the process.
Vinegar is a key ingredient for tie-dying as it helps the colour bind, and ensures that the colours come out vibrant. To begin, you need to pour equal amounts white vinegar and water into a large bowl or bucket, depending on the size of the item you're dying. wikiHow advises:
"For smaller amounts of fabric and child-sized shirts, use 1/2 cup (120 mL) of water, and 1/2 cup (120 mL) of white vinegar. For larger amounts of fabric and adult-sized shirts, use 2 cups (475 mL) of water, and 2 cups (475 mL) of white vinegar."
Make sure your item is completely submerged and then leave it for an hour. You may want to crack open a window as this watery vinegar concoction doesn’t smell that great.
Step 2: It's Time To Put The Tie In Tie Dye
Once the hour is up, all you have to do is wring the shirt out and get started while it is damp.
Now, this is where a bit of creativity is needed. There are various ways you can tie your shirt to create different patterns. Using your rubber bands, you can go for a whirl, striped or even a crumpled look.
You may want a bit of a visual aid for this bit and luckily there are various tying guides on Youtube. The super-cool creatives at High Snobiety outlined three different tie-dye techniques for their bleach tie-dye creation — crumple, shibori, and spiral — that you can try at home, and hopefully create a stylish look. Meanwhile, vlogger Emily Elizabeth created some super swirl patterns (with some difficulty) in her how-to video. But there are simpler patterns to try, too.
Here are three tying techniques worth trying:
- Youtube Tara Markham’s simple crumble technique has a very stylish outcome
- Japanese dyeing method, Shibori, is advanced but so worth trying — this video breaks it down
- The rainbow swirl tie dye pattern is surprisingly simple to do, as Youtuber Amanda Kam shares
Step 3: It's Time To Put The Dye In Tie Dye
This time you'll need your makeshift squeezy bottles and some dye. Now, you can use traditional artificial colouring designed for tie dying but the likelihood of everyone having that to hand is slim. If you've also been baking during quarantine, you may have some food colouring to hand — this works perfectly for tie-dye.
If not, there are some interesting natural dying methods using bleach, coffee, and even red onion skin floating about the internet.
Here's a fun TikTok tutorial with bleach by blogger Yvette Alexis Pacheco:
Next, fill squeezy bottles halfway with water and add 8 drops of food colouring.
You'll need two or three colours (apparently less is more) to create some groovy, kaleidoscopic prints. Or stick to one colour if that's more your thing, it's completely up to you. See this amazing DIY sweatshirt from Tori Lyn on Instagram for inspiration.
Step 4: Unleash Your Creativity With Your Makeshift Dyes
Using your rubber bands as guides, squeeze (or rather, attack!) your clothing with your homemade dyes. Alternate between the colours to create a uniform print, or, be as random as you like. Don't forget to cover the back of your item too.
Step 5: Let The Dyes Develop
With the rubbers bands still in place, put your shirt in the ziplock bag so the dye can develop for up to 8 hours.
Once the colours look nice and vivid, remove it from the bag and cut off the rubber bands. Make sure you're wearing gloves as dip dyed fingers aren't the aim of the game here.
Now, it should be starting to resemble something wearable.
Step 6: Salt Soaking
You're not quite done by this point. You'll need to submerge your item in a solution made of half a cup of salt and half water. The recommended amount is 150g of salt with 120 ml of water to help the dye set.
Once your bowl or bucket is filled, wring it out and rinse under a tap. According to wikiHow, you should keep this up until the water runs clear.
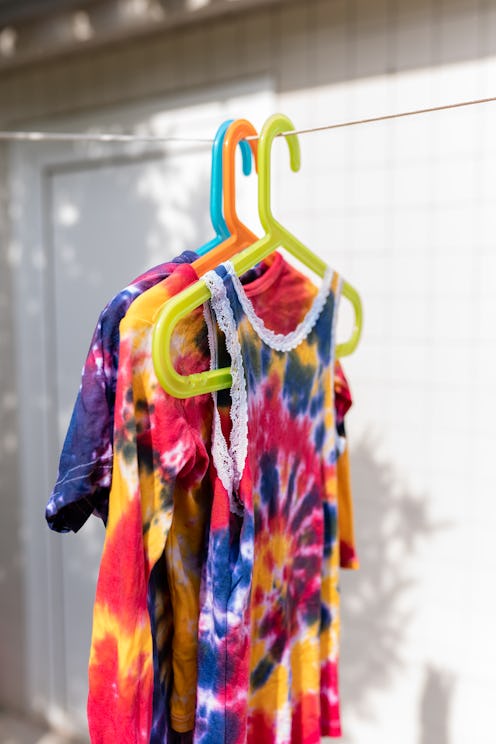
Step 7: Time To Dry

Hang your new design up on your washing line, or pop it in the dryer (all depends on the material you've used). And voila, you've got yourself a fab new outfit.
This article was originally published on
