Beauty
How To DIY Your Own Candy Cane Nail Mani, In 4 Ridiculously Easy Steps
I repeat: only four steps.
Turn on a holiday movie, grab a glass of mulled wine, and plug in your Christmas tree for a little self-care manicure session. If you've been thinking of transforming your nails for the holiday season, now's the time to get festive. These easy, four-step candy cane nails do just the trick.
Amy Lin, founder of New York City-based wellness nail care brand Sundays, spoke with Bustle about how to craft the perfect candy cane nail look, and she's bringing a bright but still subtle design that even a novice at-home manicurist can accomplish. With just two colors — the classic holiday shades of red and white — a along with a few tools, some masking tape, and a bit of time, you can recreate Lin's look for yourself right from the warmth and comfort (not to mention the easy drink access) of your couch.
If you want to try candy cane nails for yourself, keep scrolling for Lin's step-by-step guide on nailing (ahem) the holiday look.
We only include products that have been independently selected by Bustle's editorial team. However, we may receive a portion of sales if you purchase a product through a link in this article.
1. Prepare Your Materials

For Lin's candy cane nail design, you'll need the following tools: a base coat, top coat, white polish, red polish, paper towels, tweezers, nail art tape (try the Mioblet Nail Art Adhesive Tape), scissors, nail polish remover, and a Q-tip or wooden stick. Before getting started, gather all of your materials and prep your nail art tape.
You'll be using small strips of the tape to create candy cane stripes, and Lin suggests placing these stickers — in however many stripes you'd like — down in a place where they'll be easily accessible. She also tells Bustle that masking tape works, but you'll want to be sure it's not too sticky so it doesn't disturb your base coat when peeled away.
2. Use A Base Coat

Once you've lined up your stickers and have your manicure materials ready, paint a layer of base coat onto your nails and let dry. Sundays' hydrating base coat will help create an even canvas for your color application and work as an adhesive surface for the color. A base coat like Essie's Smooth e-Base Coat works similarly, and if you'd prefer a base that helps to strengthen the nail, you can opt for one like Nails, Inc's NailKale Superfood Base Coat.
3. Apply Color

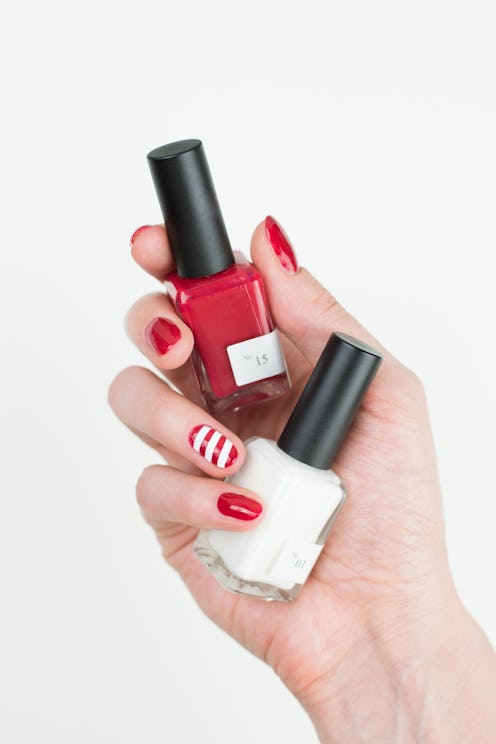
Once your base coat is dry, it's time to begin applying color. Lin recommends painting your nails in alternating red and white colors in whatever order you'd like. For her look, she used Sundays' No. 15 Bright Red Polish and No. 1 Pure White. Options like Butter London's Come to Bed Red and Olive & June's polish in HD are also great for the look. Lin recommends applying two coats, and once painted, let your nails dry completely.
3. Add Tape & Paint Your Stripes

Once your nails have dried, use the nail art tape (or masking tape) and place each piece gently and diagonally across the nails that are painted white. Smooth the tape down so that there are no gaps underneath the adhesive or at the ends.
Then, take your red nail polish and paint over just the nails on which you applied tape. You may need to use more than one coat to cover up the exposed white shade. Once done, Lin says to let dry for five to seven minutes, but don't let your nails get completely dry. Instead, wait until they're almost there, then peel back the tape, as this makes the removal process easier.
4. Apply Top Coat

Before moving onto your top coat, make sure your nails are completely dry. Lin warns that if they aren't, you run the risk of the red and white shades mixing together and ruining your mani. Once they're fully dry, use a base coat (she opts for Sundays' Protective Top Coat) or a no-chip coat like ORLY's to seal it all in. And voila: You've got really cute candy cane nails.

This article was originally published on
