Sunless Sculpting
The Pro-Approved Way To Try TikTok's Tantouring Trend
For a sculpted look that lasts for days.
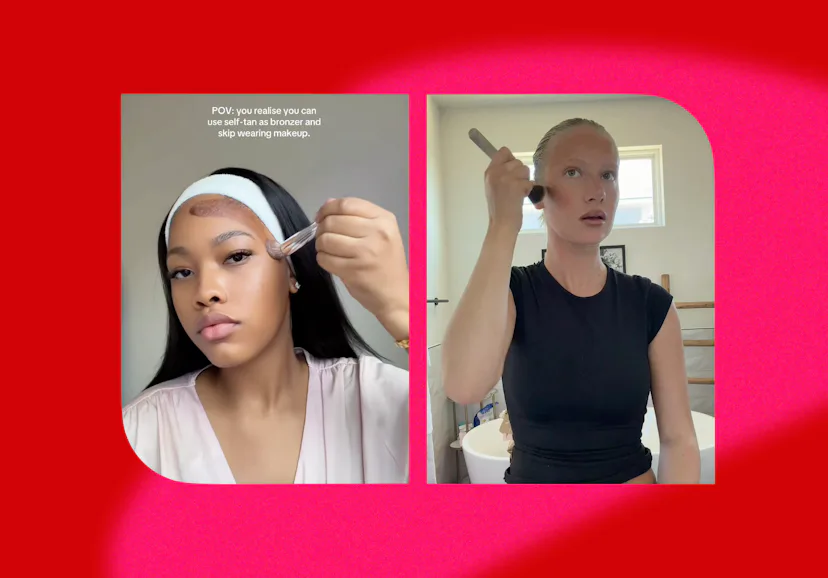
An hour-long makeup routine might have flown in 2016, but these days, beauty lovers are working smarter, not harder. Lip stains are giving lipstick a run for its money, brow tints are making pencils feel optional, and lash lifts mean you can skip the eyelash curler for the next few weeks. Naturally, contour is getting the same treatment.
Enter: “tantouring,” the technique that swaps contour for strategically placed self-tanner. It’s hardly a new trick, but after TikTok creator @lulaindee posted a video with the caption, "Watch me ruin my face with self-tanner,” commenters argue that the technique wasn’t the problem — the application was.
As it turns out, there’s a right way — and a very wrong way — to try the trend. Ahead, a pro breaks down how to do it properly — and the one mistake that can leave you looking muddy.
What Is “Tantouring”?
The idea behind tantouring is simple: you apply self-tanner in the same areas you normally would contour. “Focus on the hollows of the cheekbones, along the hairline and forehead, the jawline, and very lightly along the sides of the nose,” says celebrity tan artist and Dolce Glow founder Isabel Alysa. “The goal with tantouring is to subtly enhance your natural features, not dramatically reshape them.”
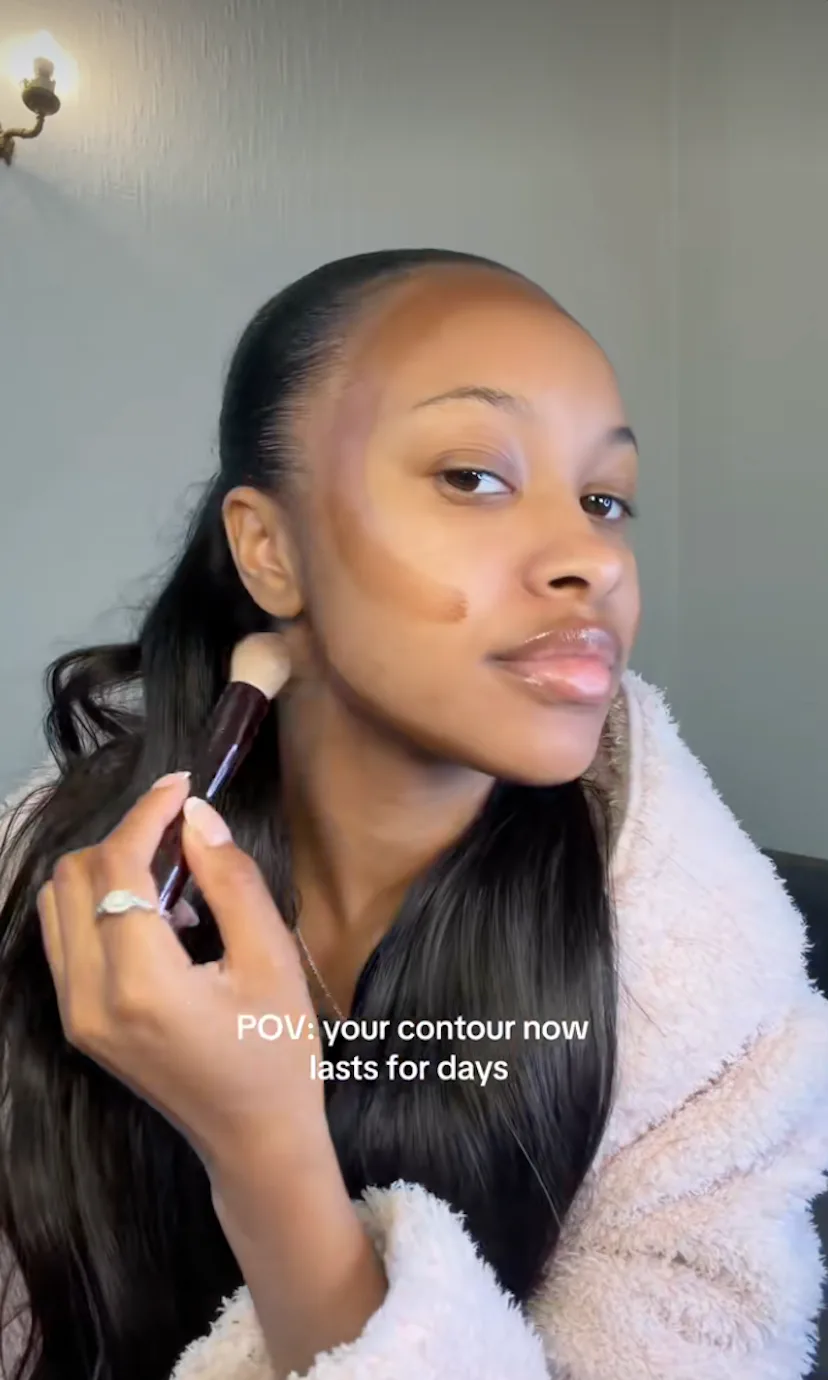
Unlike cream contour, once your self-tanner is set in place, there's no buffing it out with a brush or removing it with a makeup wipe. That’s why “blending is everything,” as Alysa puts it. “If it looks seamless before it develops, you’re setting yourself up for the most natural-looking result.” Instead of obvious stripes, it should look diffused around the edges, the same way a well-blended contour would — which, in hindsight, is exactly where the viral TikTok went wrong.

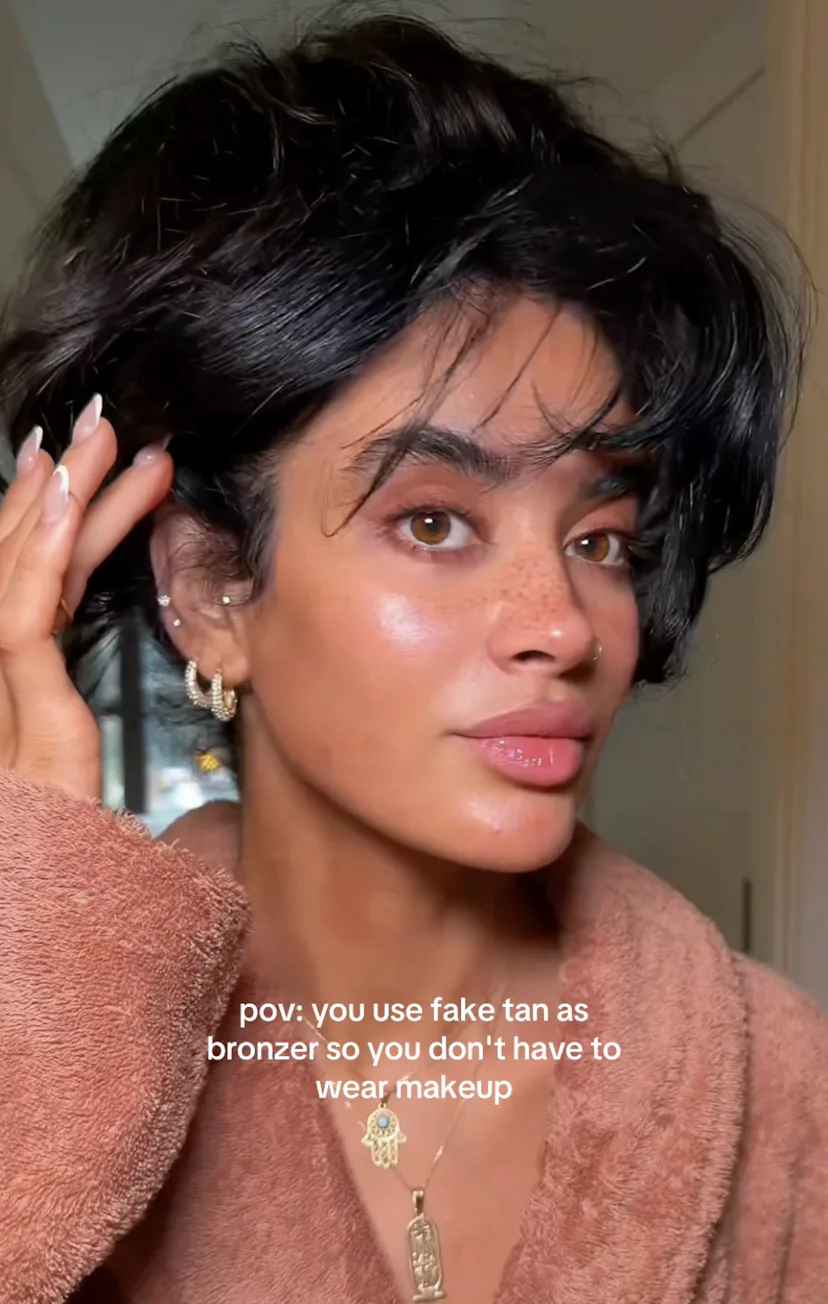
Once you get past the learning curve, the appeal is obvious. “You wake up looking a little more bronzed and defined,” says Alysa. And the results typically last for several days before gradually fading. Whether you’re wearing no makeup or a full face, it's one less step to think about before heading out the door — not to mention an easy way to fake a vacation glow without actually baking in the sun.
How To Tantour Like A Pro
As with any self-tan routine, the first step is starting with clean, dry skin — read: no serums or moisturizers, since they can get in the way of an even tan. Exfoliating beforehand, especially around any dry or textured areas, will also help the self-tanner develop more smoothly.
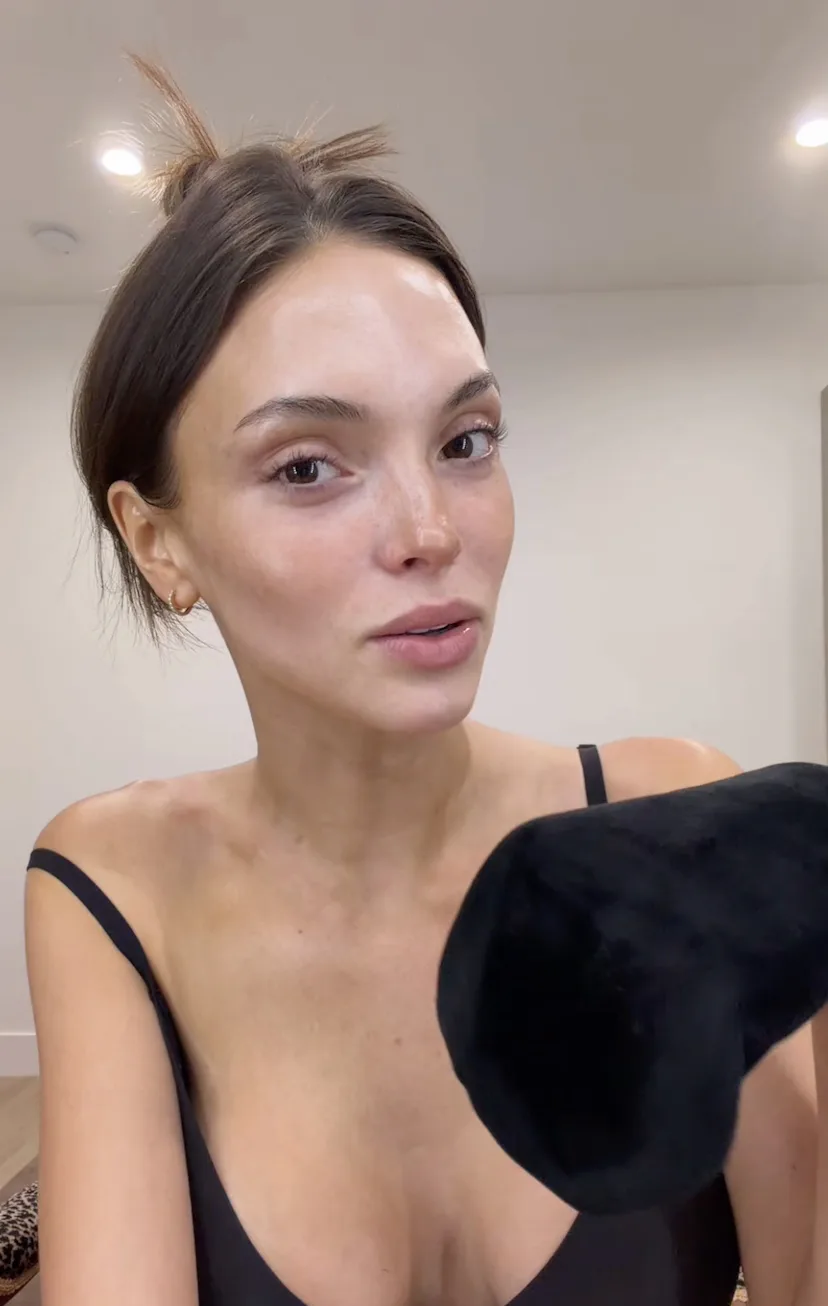
After applying self-tanner to your usual contour points, don’t just let the product sit on top of your skin. Instead, grab a damp beauty sponge or blending brush, and use light tapping motions to soften the edges without muddying the placement. “Blend outward until you can’t see where the contour begins or ends,” Alysa says. Around the forehead, that means blending all the way into the hairline, too.

The easiest way to end up with muddy-looking contour? Using too much product. "Self-tanner develops over time, so you don't need the same amount of pigment you might with a traditional contour," says Alysa. “Start with less — you can always build your tan, but it’s much harder to take away excess product once it’s fully developed.”
If you do get a little overzealous, though, all hope isn’t lost. “Gentle exfoliation is your best option,” Alysa says. Instead of scrubbing the entire face, focus on the areas you want to diffuse with a warm washcloth and a gentle exfoliating cleanser. It won't totally get rid of the self-tan, but it will help speed up the fading process.

If you are happy with the placement and depth of color, take the opposite approach. Let the self-tanner fully develop before washing your face, then keep your skin hydrated and avoid any exfoliants for the next few days. From there, your semi-permanent contour takes care of itself.


